

We had to remove the old one, clean the mold off the walls and replace it with something that’s a little more our style. Vanities at the big box stores didn’t seem to have the look we wanted. They were cheaply made and too expensive so after some deliberation I decided to make our own.
I took measurements of the old unit and ripped all the old water damaged garbage out of there.


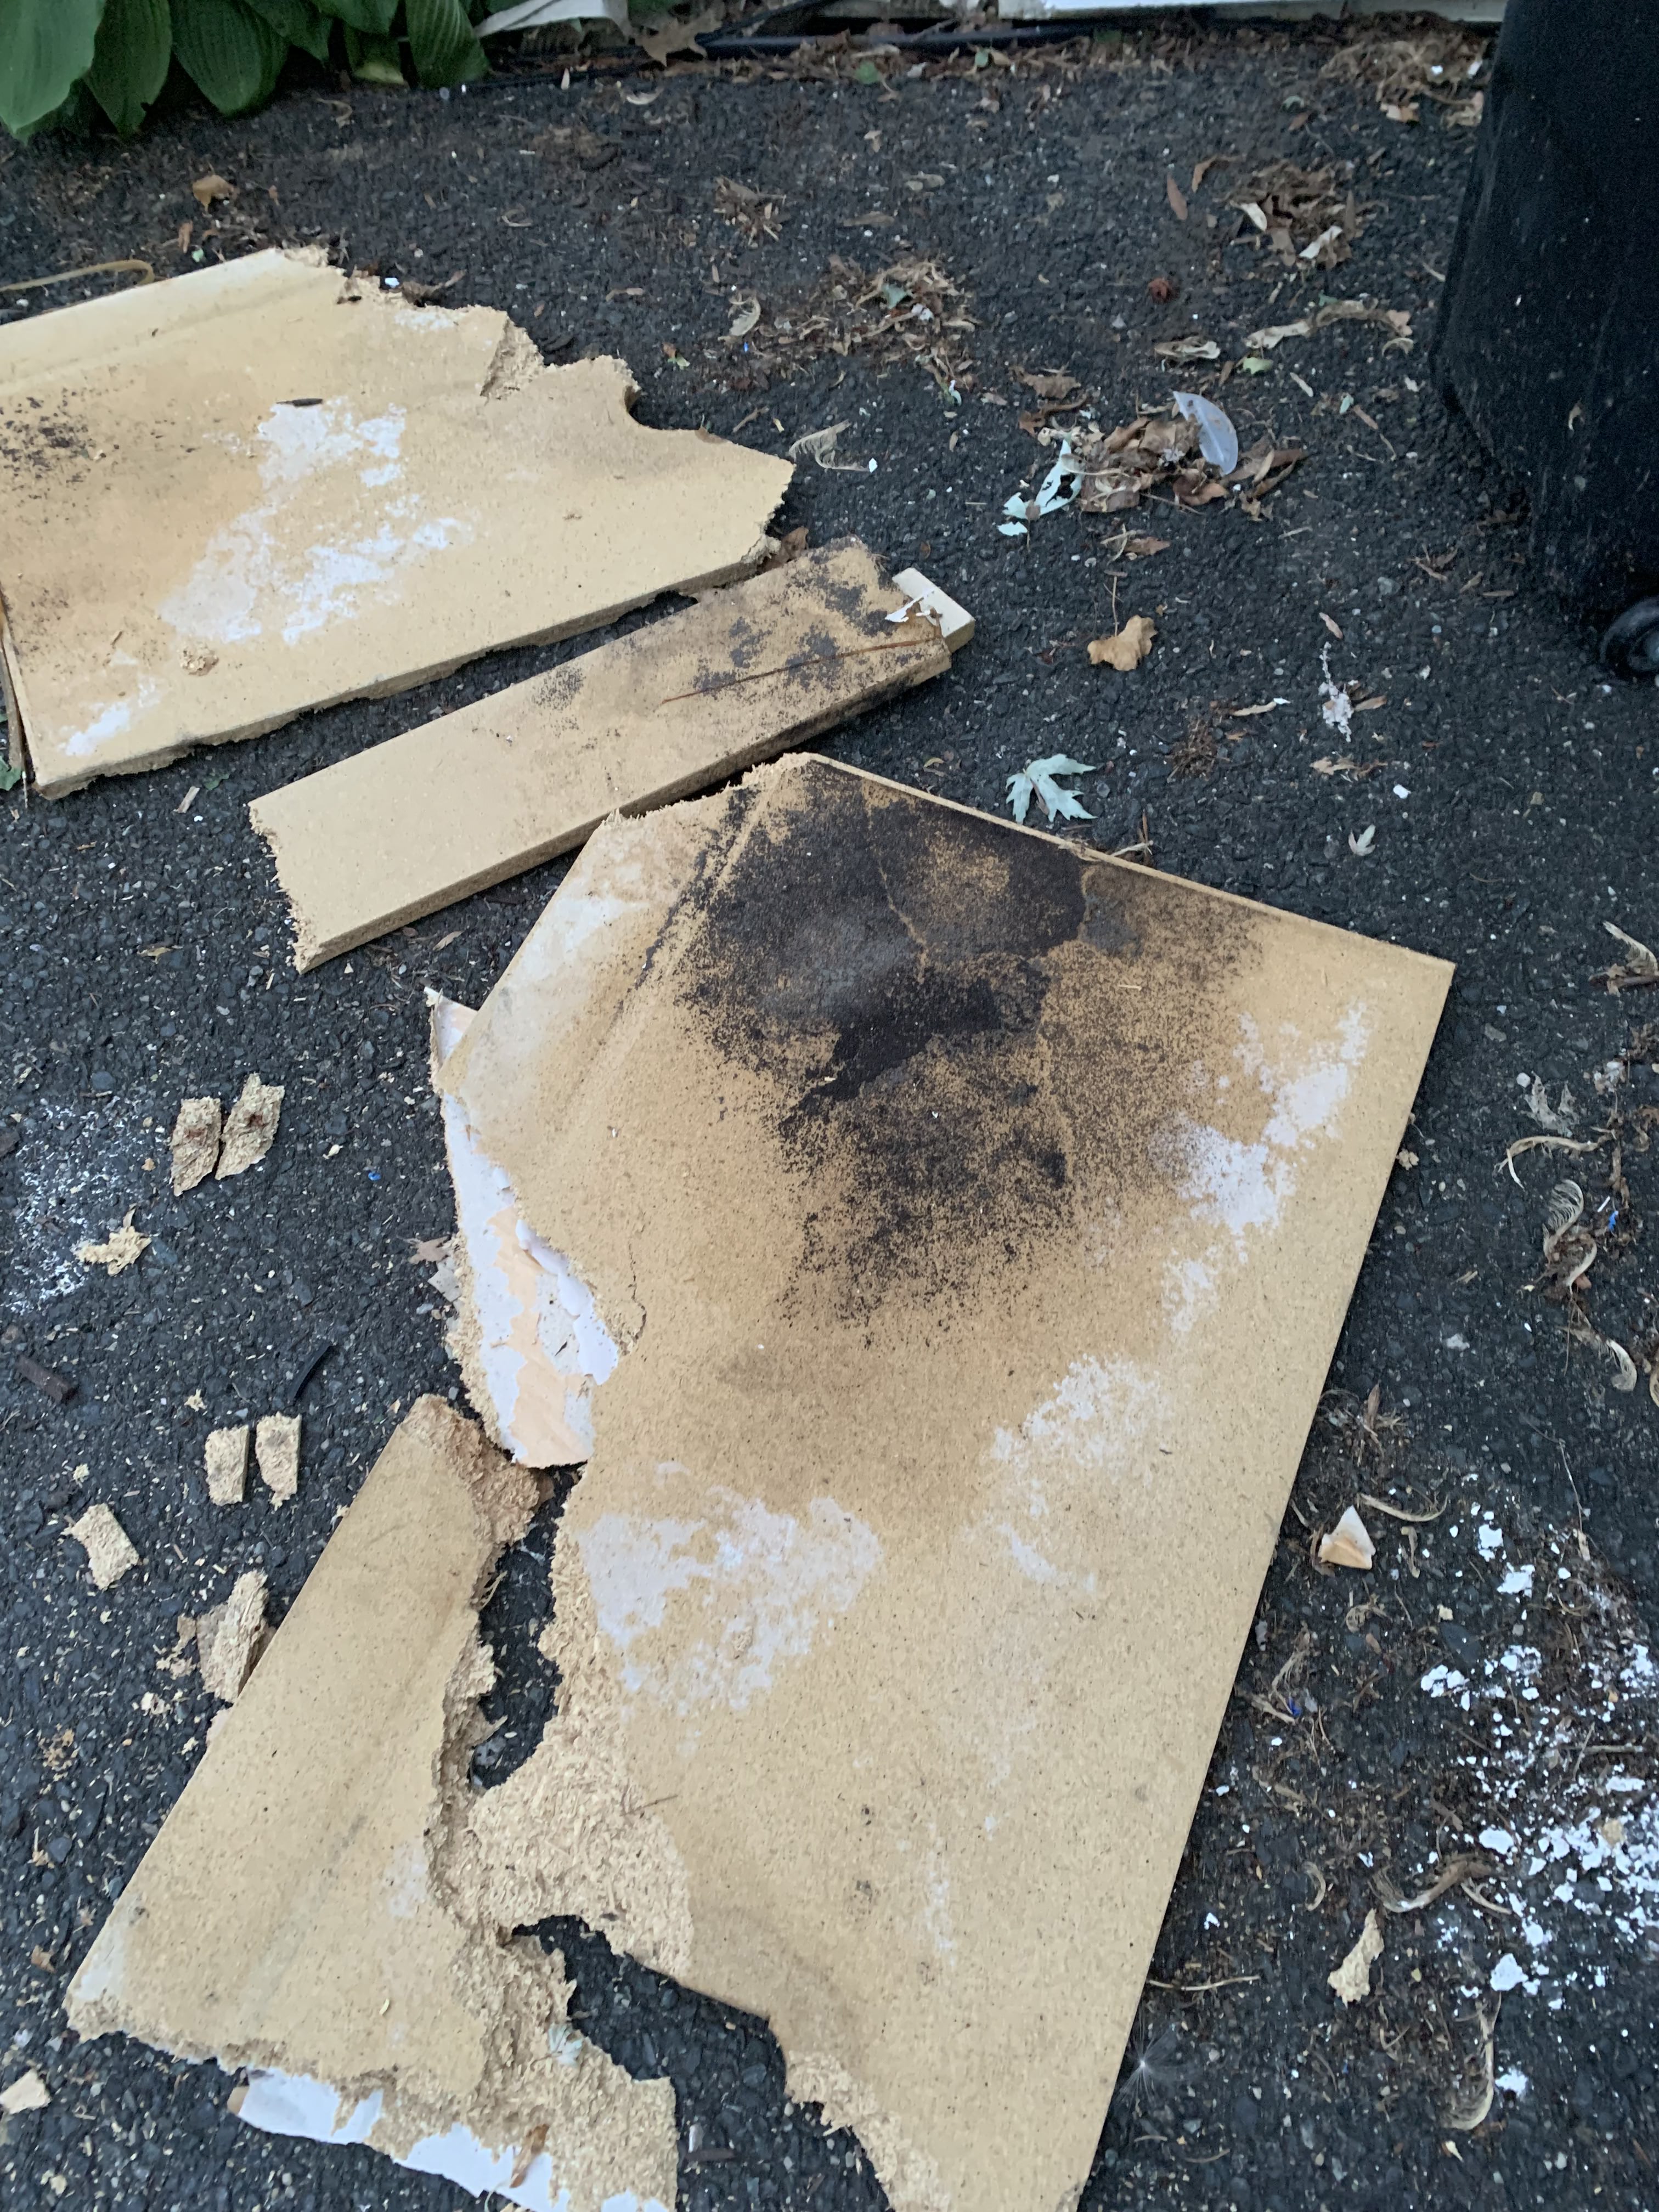
We went down to the studs as the dry wall was bad too. We then proceded to scrub down the studs and everything around with bleach, mold inhibitor and fungicide. After going over it all twice we sealed it up with oil based paint and then a coat of Kilz primer.


It was then time for our weekly trip to Home Depot. Using the measurements we took from the old unit we purchased some white pine common boards, a 4’x8’x3/8″ sheet of sanded plywood and, a sheet 4’x8’x1/4″ birch plywood

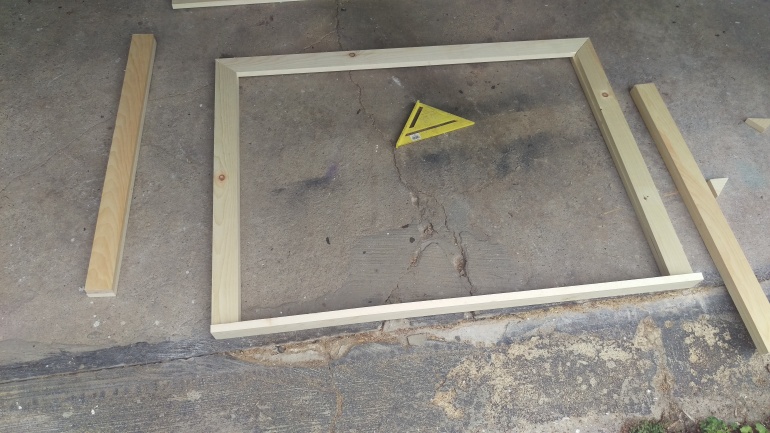
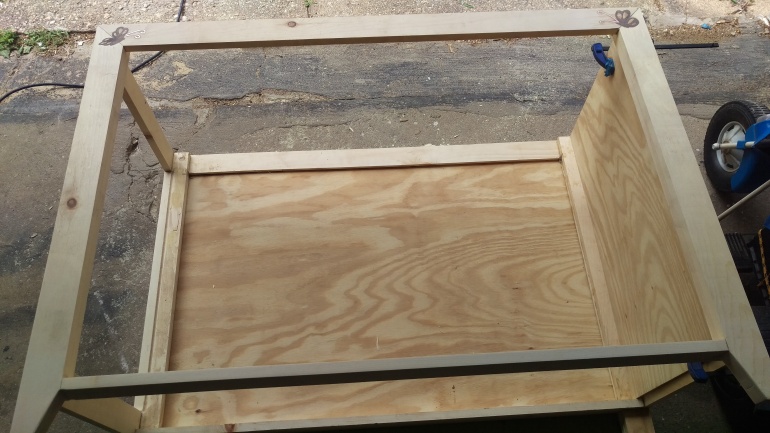
From there it was a “simple” task of figuring out how each piece would join the other so the outside dimensions were correct. I decided to use miter cuts and rabbit joints, this would mean we would have no screws or fasteners showing.


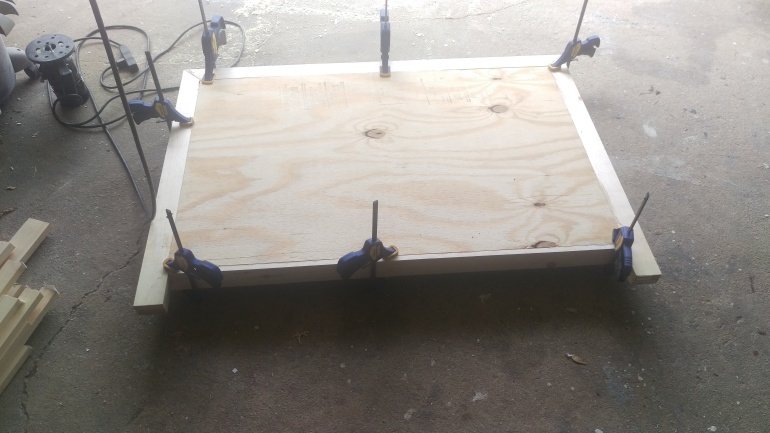
Once I had the main structure glued up and grooves routed for the back I turned my attention to adding that little splash of magic to our custom vanity by including a custom inlay! I have years of experience doing reproduction and inlay work on instruments so creating a custom design on our vanity was a nice change.


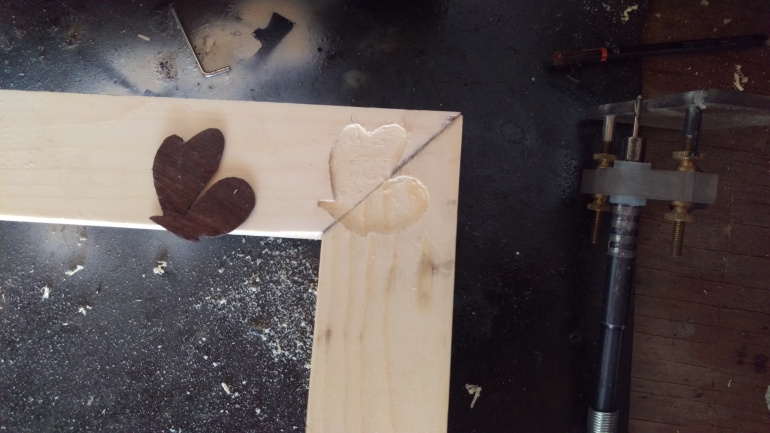


Using Walnut and maple veneer I traced out my butterfly shapes and then cut them out with a jewelers saw. The antennae are made from left over copper wire from redoing our laundry room ( more on that later).


After one coat of Puritan Pine stain from Minwax , I laid on three coats of oil modified clear to prevent future water damage. The next step was making drawers and doors. One thing that has always bothered me was that the top two drawers on every vanity are dummies to leave room for the sink. Looking at our sink and measuring it up I saw no reason for doing this. We wanted all our drawers to function.

I cleaned up the salvaged hardware from our old vanity and added a lick of fresh paint. I only had to buy two more sliders to make our new vanity work which is great! It’s always a win when I can reuse or repurpose things.


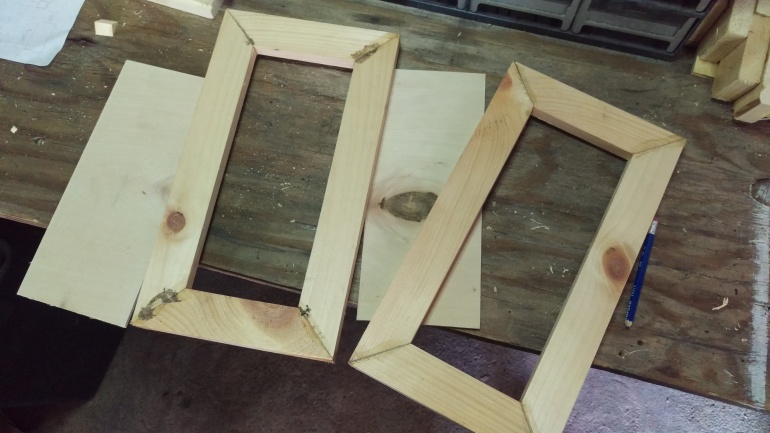
I definitely lacked some of the necessary tools to do this part of the build so I improvised with ratchet straps from Harbor Freight. They worked great with four blocks on each corner to keep things square. The drawer faces I made the same way I made the vanity frame, miter cuts and biscuits. Each face was made with the birch plywood laid into a routed channel. The faces will then be glued on and held in place with our selected hardware.

We needed the sink to get ready in the mornings so the drawers came a little at a time.
I wanted to make a special drawer for Marianne and her hair stuff. It was a pain not to have a place for her hair dryer and iron. She told me when she was a kid the extra sink in the double vanity was used to hold the hair dryer so I had a little surprise for her.


I started with a really deep drawer and framed half the drawer out. This would be the section to hold these bulky items. I cut a hole the size of her dryer and iron and used aluminum lined PVC pipe to holster the items.

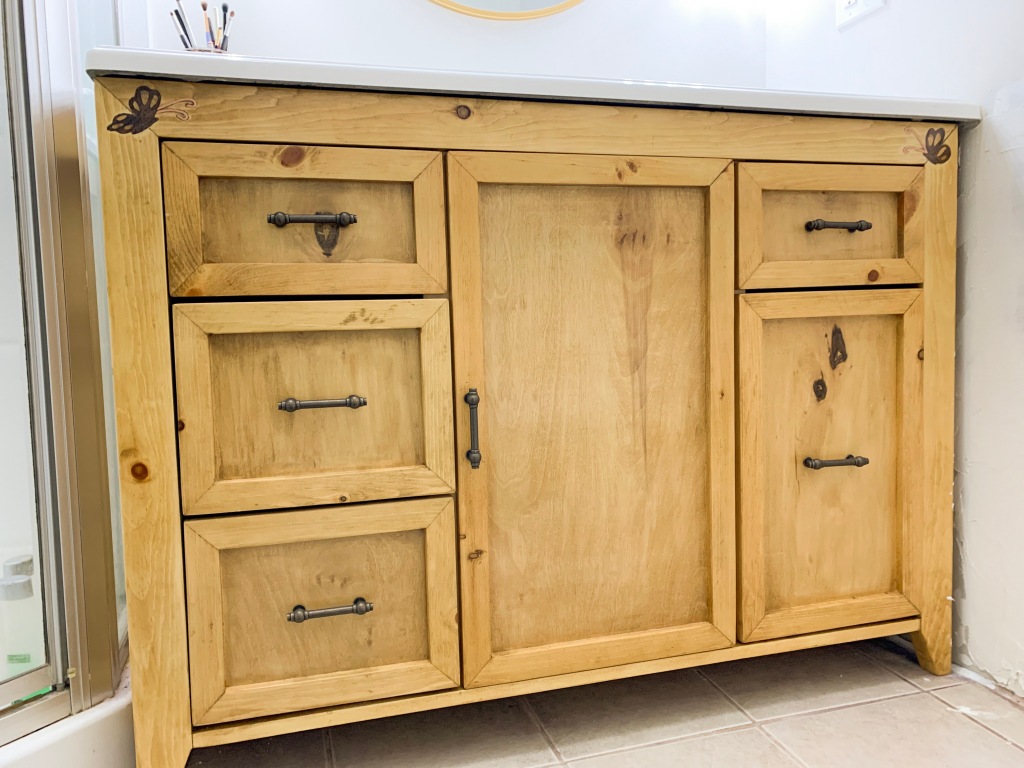


With all the drawers and hardware in place I have to say I’m very happy with the way it all turned out. I think it embodies our style and adds a little bit of that “boho” sparkle that others were lacking.

Robbie, you are amazing, absolutely beautiful !
LikeLike