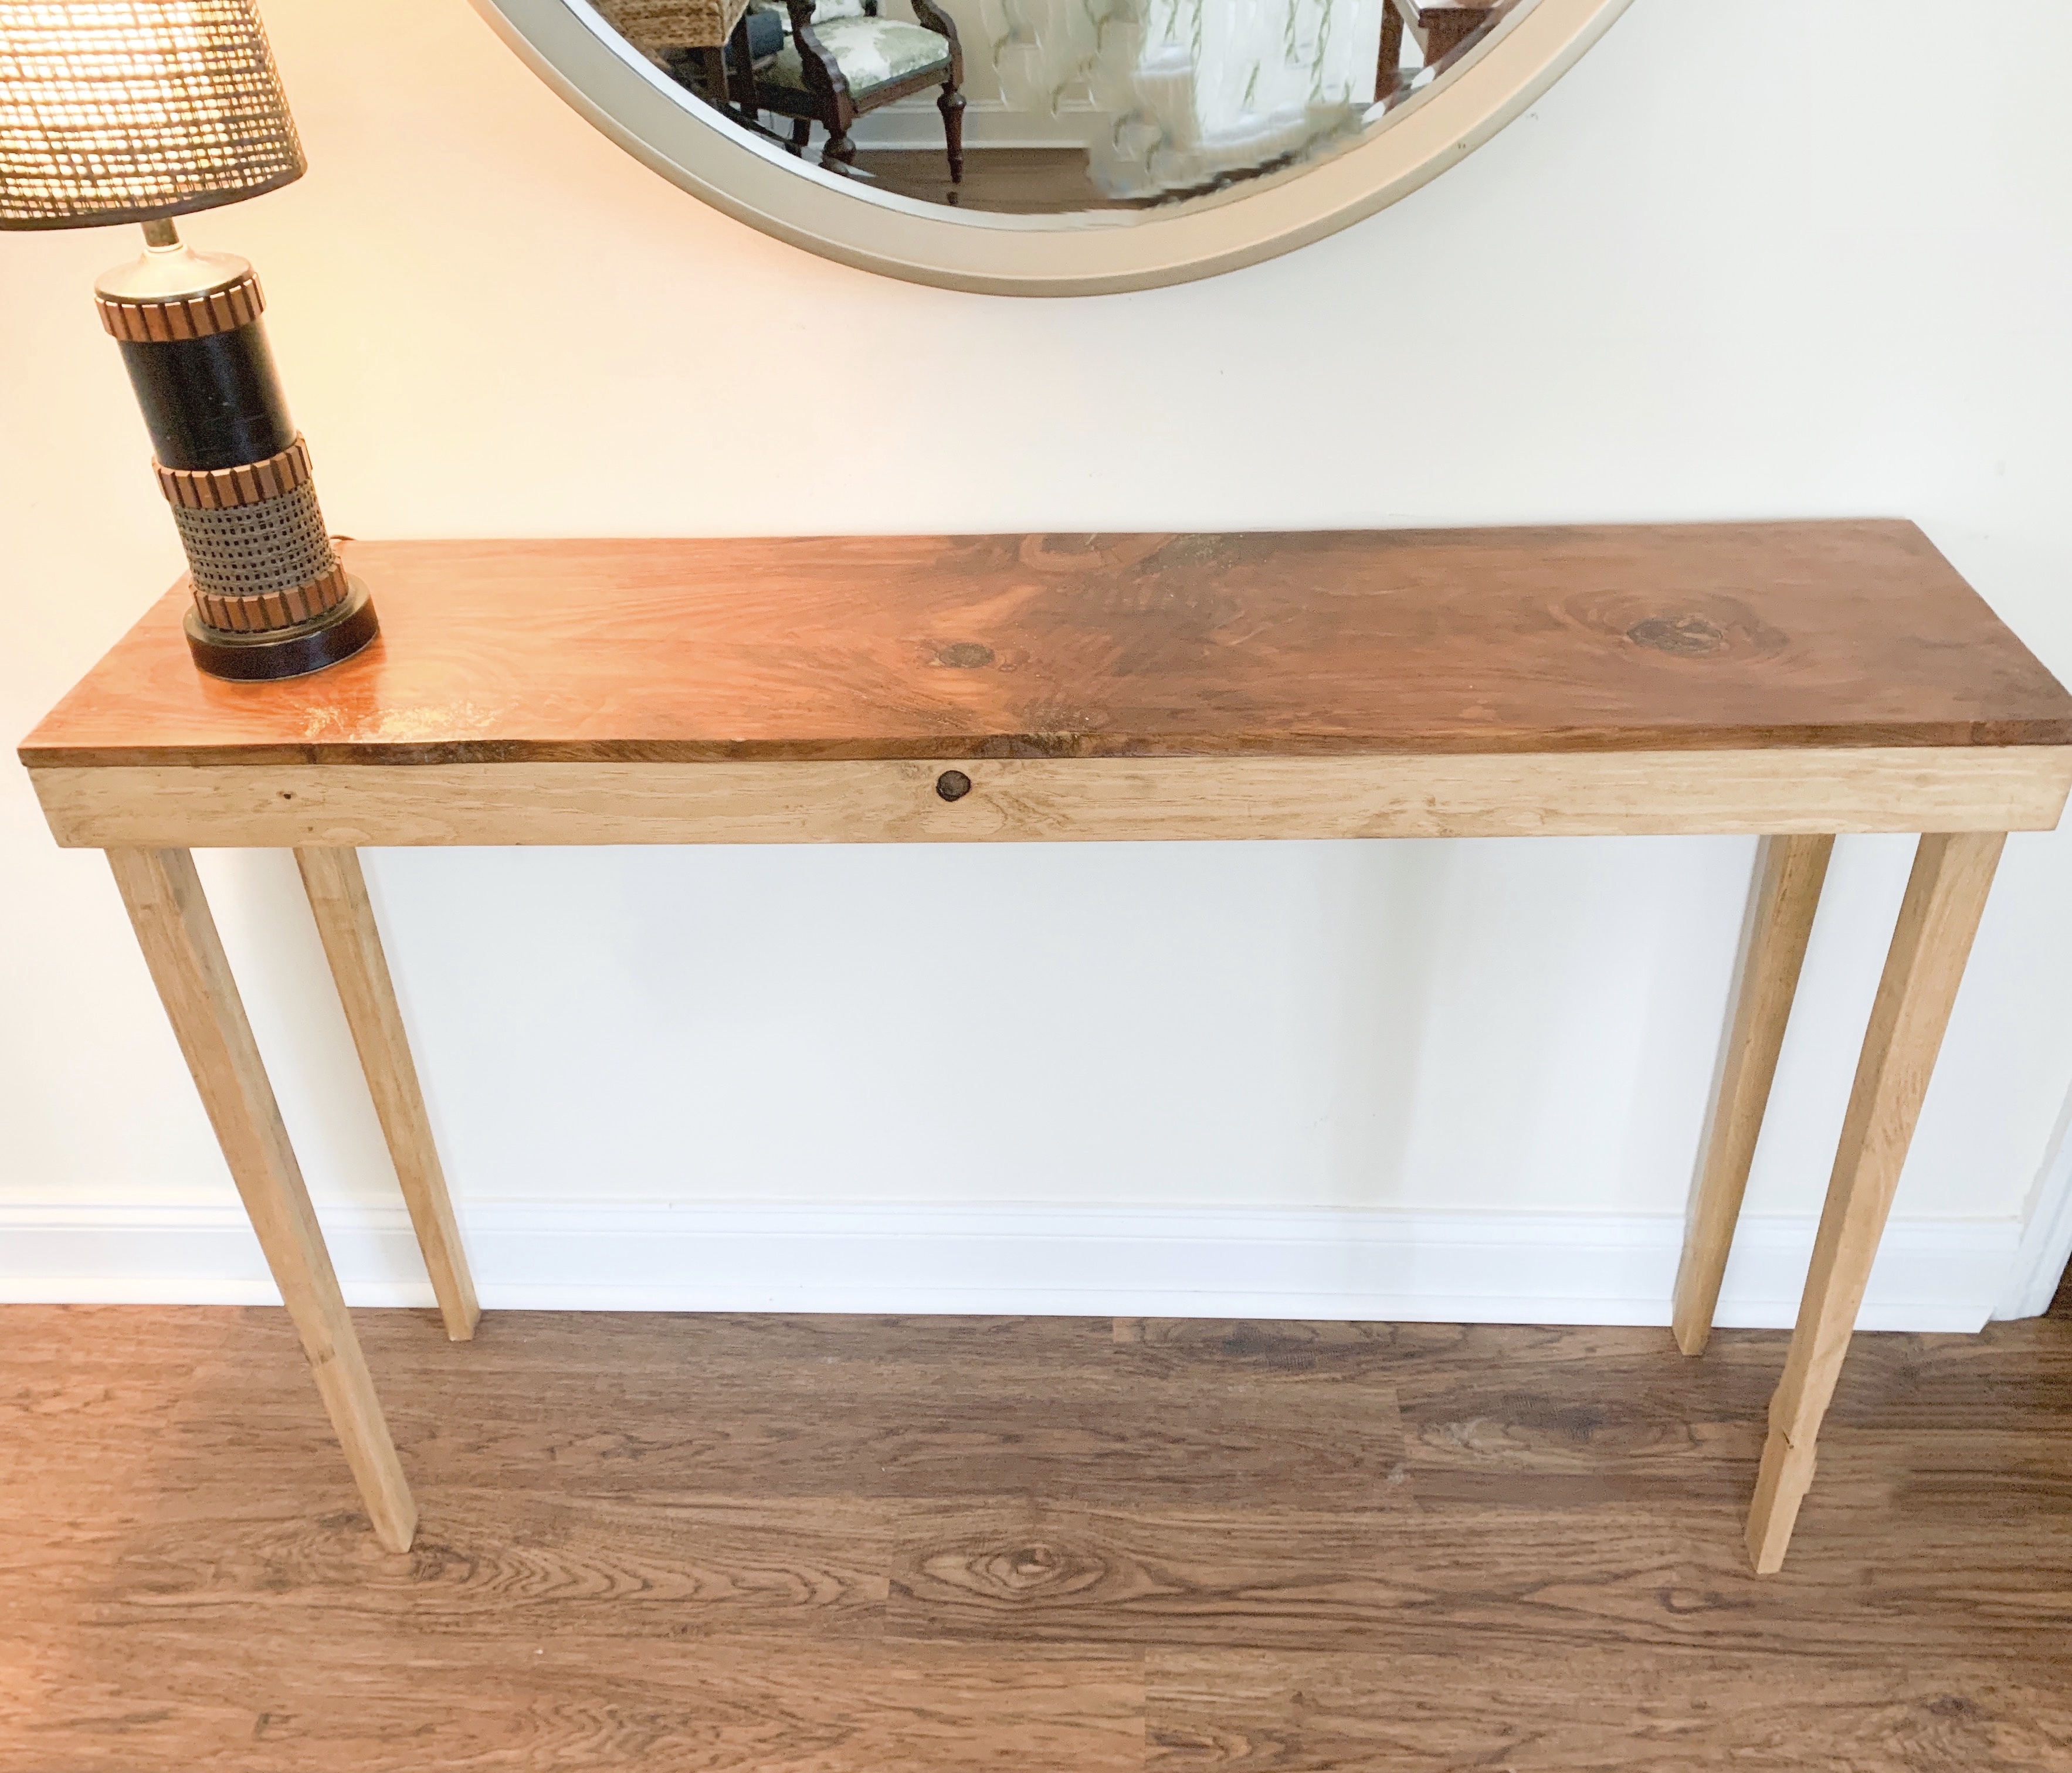
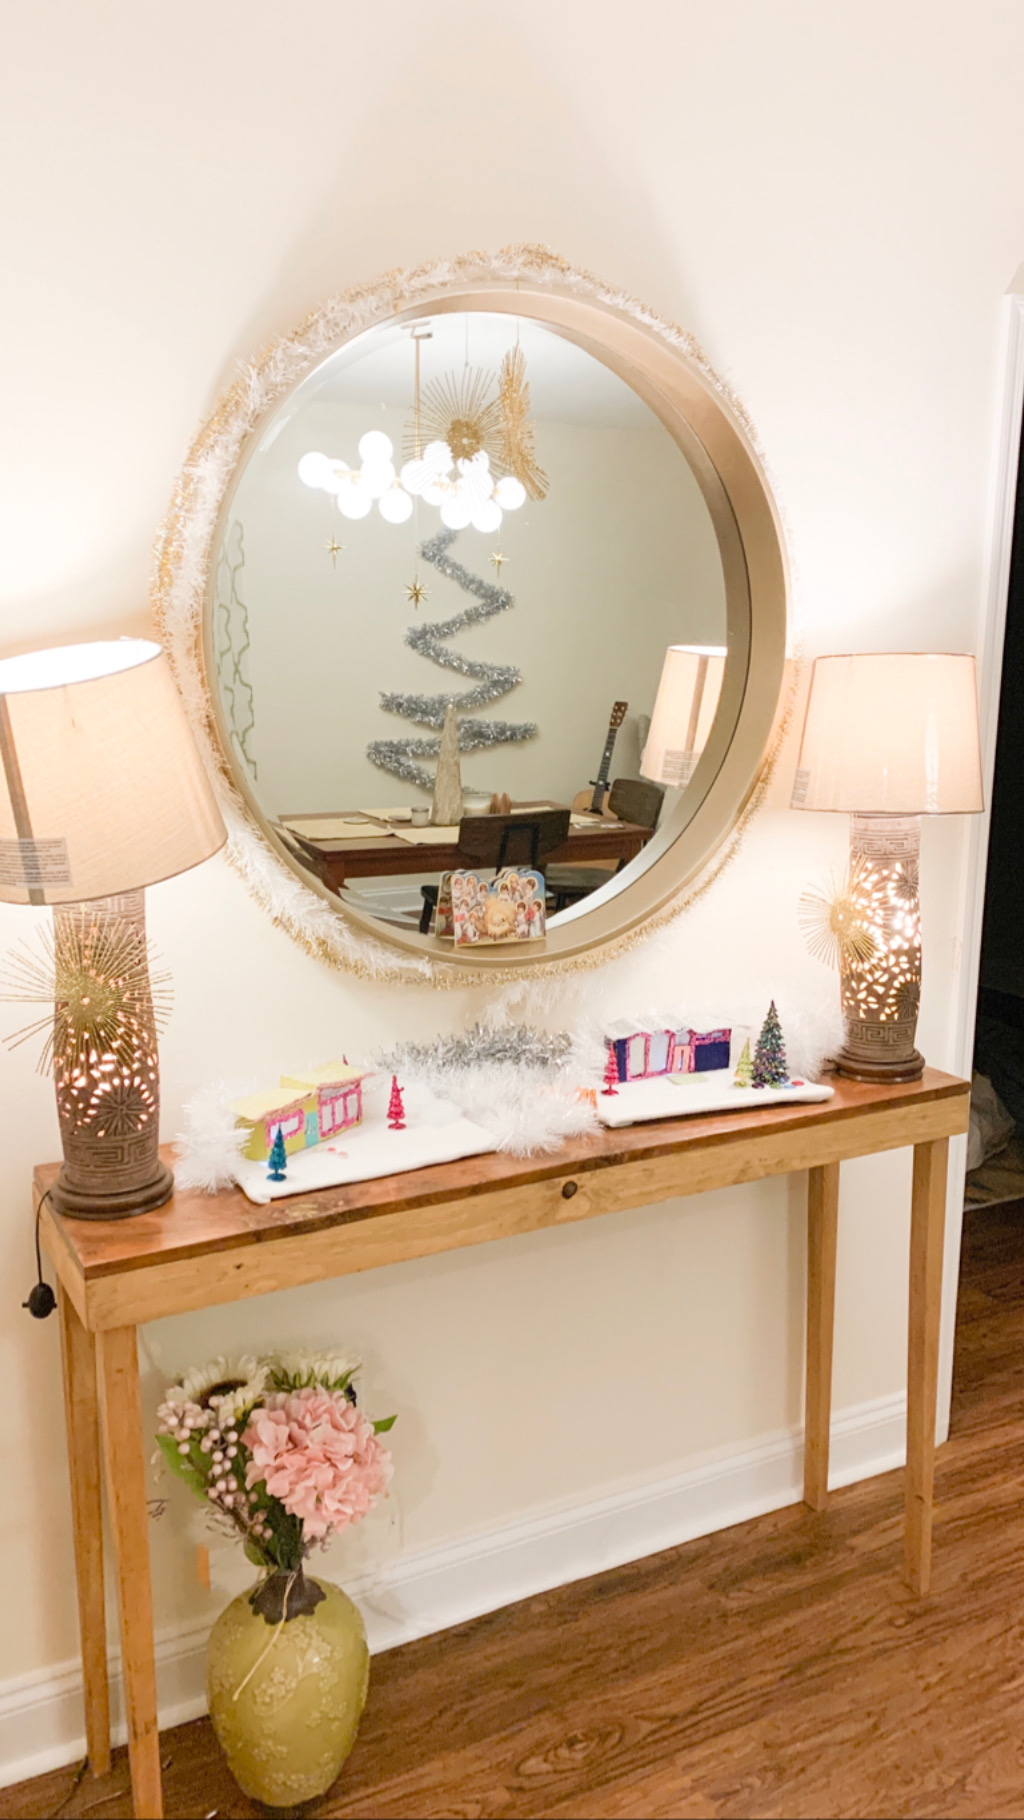
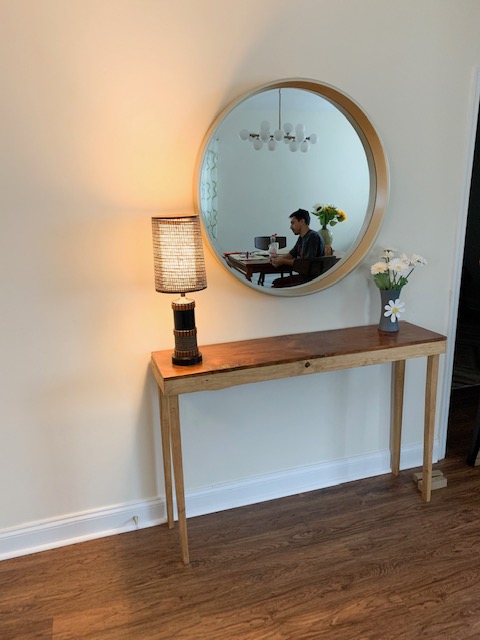
We love to go antique shopping and in doing that we often see things we want but can’t afford. In this case we were on the hunt for a console table to sit under our mirror in the dining room. The space is super small so finding the perfect vintage piece that had the exact dimensions we needed was going to be tricky. This Teak, vintage table had the look we wanted but it was just a little too short, a little too deep and a little too orange. Here’s the dream table below….
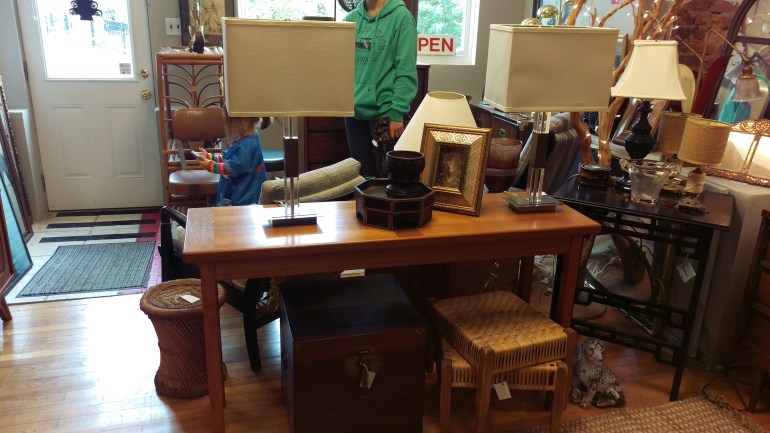
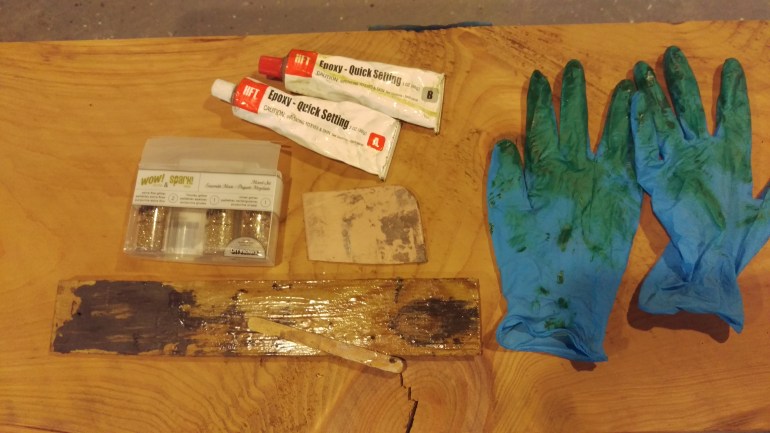
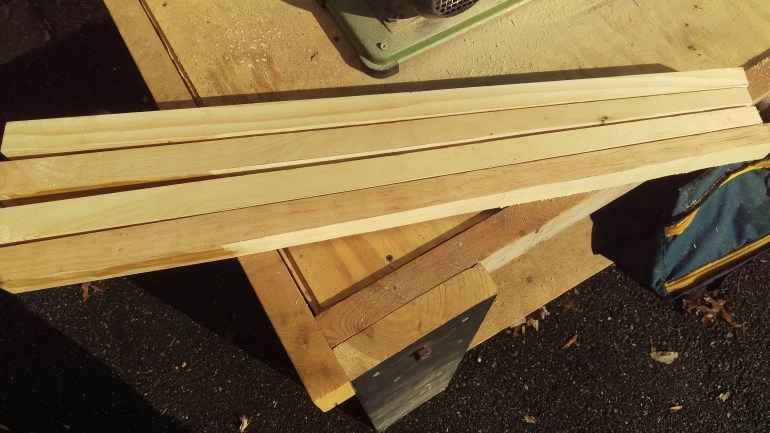
We we so close to buying it. I mean…..really, really close. We wanted the lamps on top and the suitcase for storage below but the final price tag was going to be about $1500. Thankfully one of us shook the other out of our vintage haze and we said we’d think about it. After getting home we measured our space again and realized the table wouldn’t fit even if the price was right. I took the measurements we needed and disappeared to my work shop for a few hours to gather materials. I found leftover wood from our vanity and some old pine planking that remained from the subfloor in the house from the 50’s. Back inside I found some epoxy, jars of gold glitter and some oil based stain and got ready for a wild Friday night!
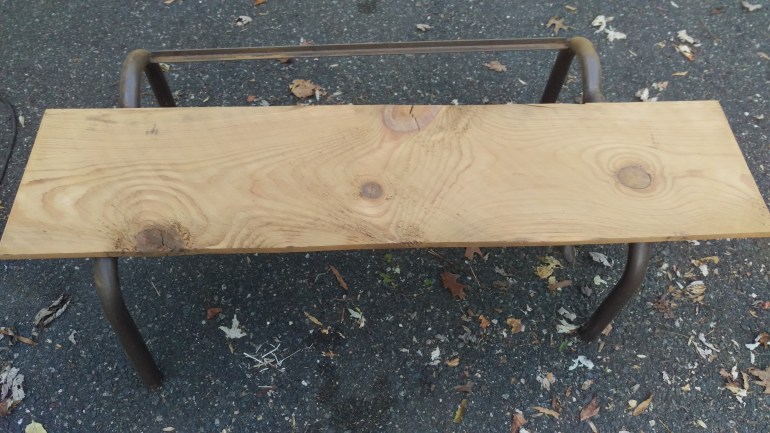
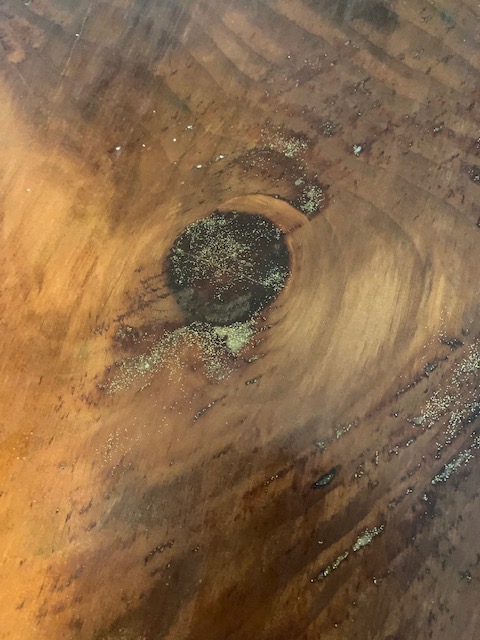
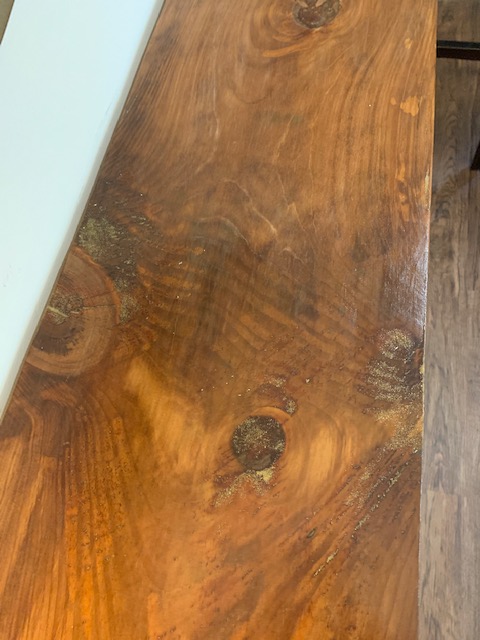
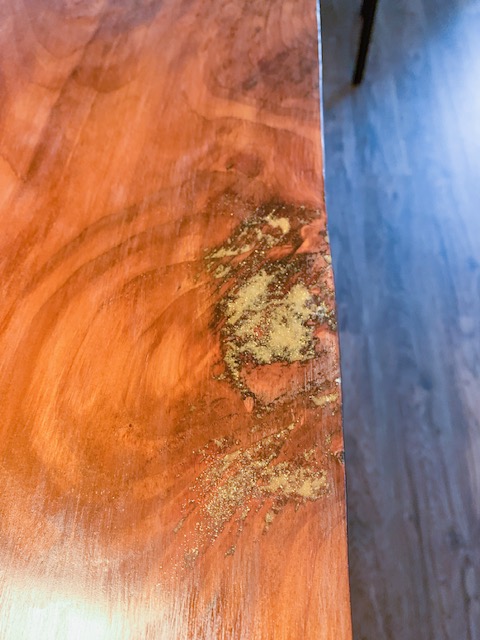
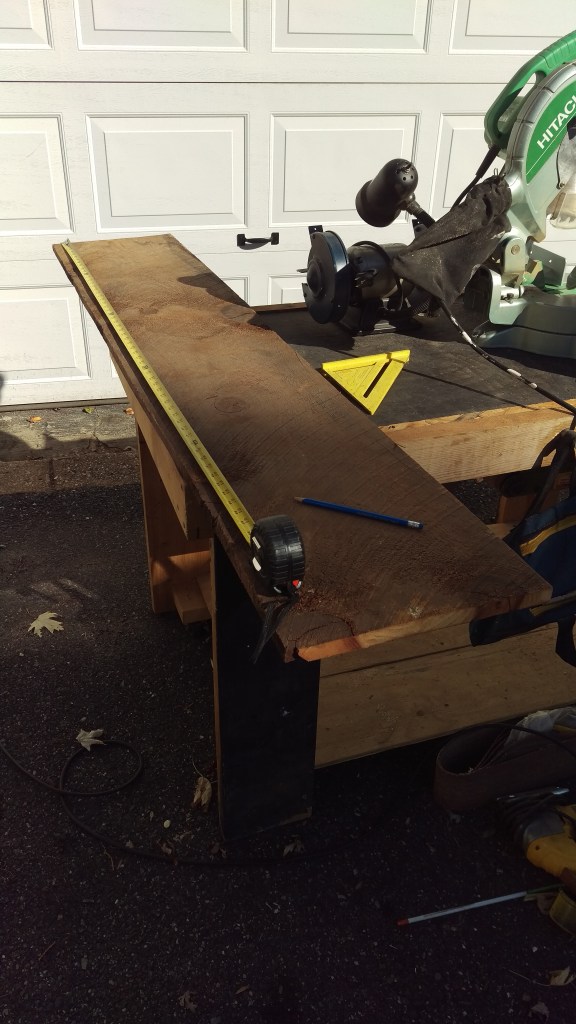
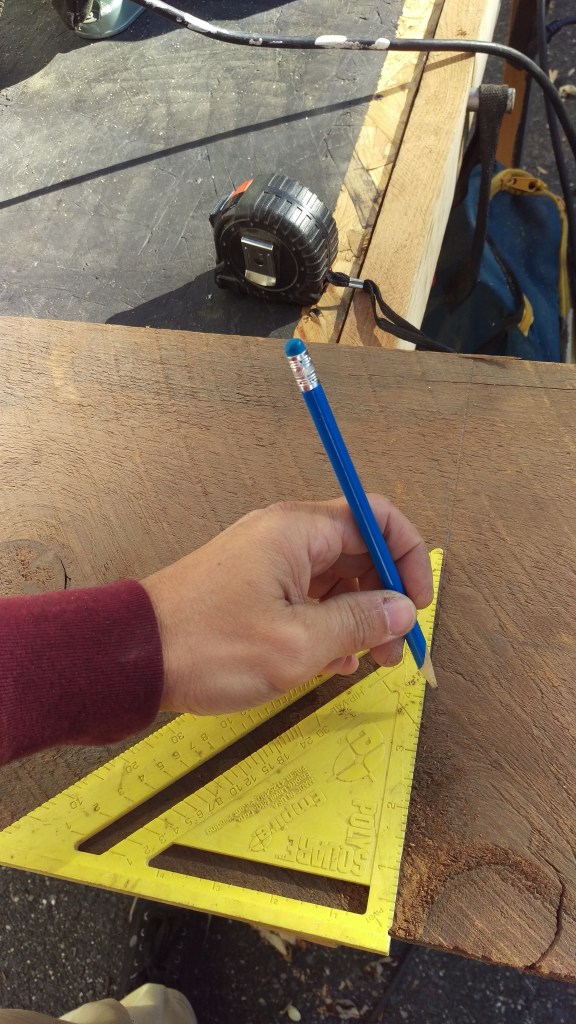
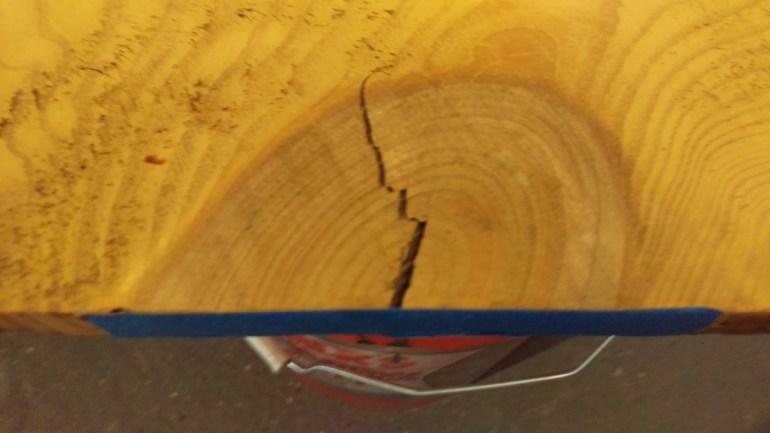
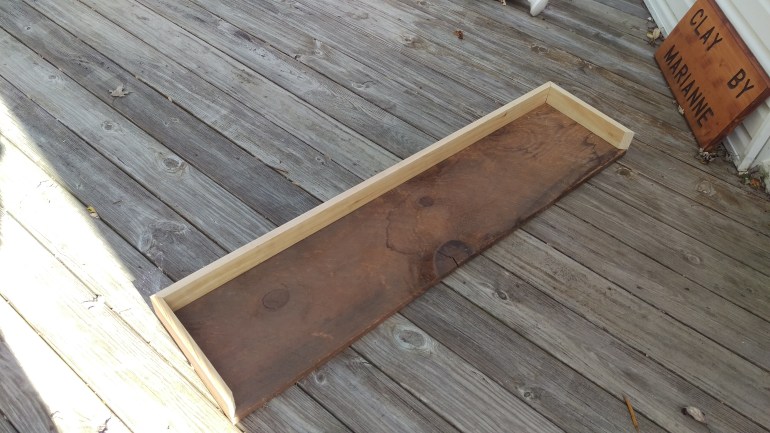
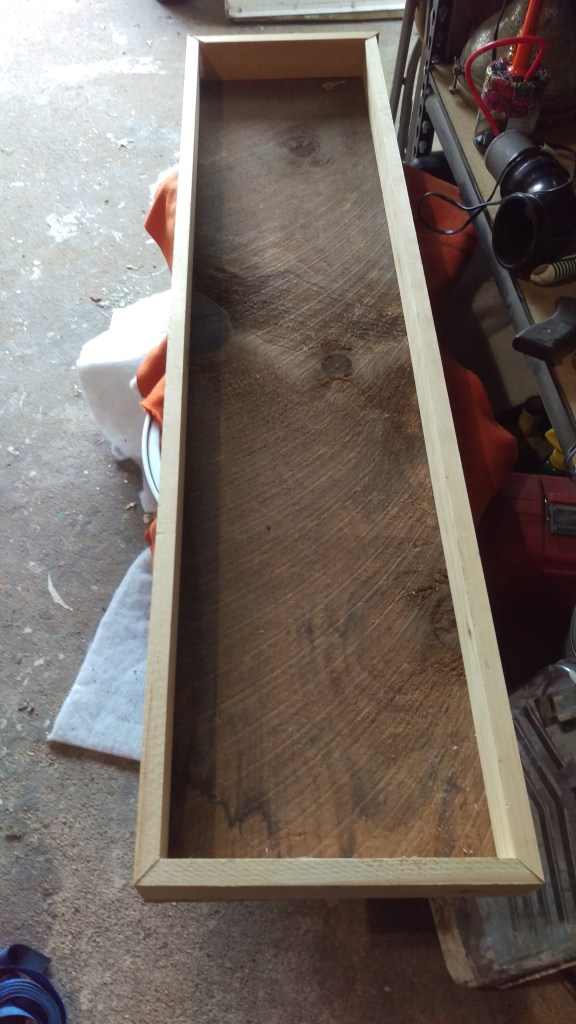
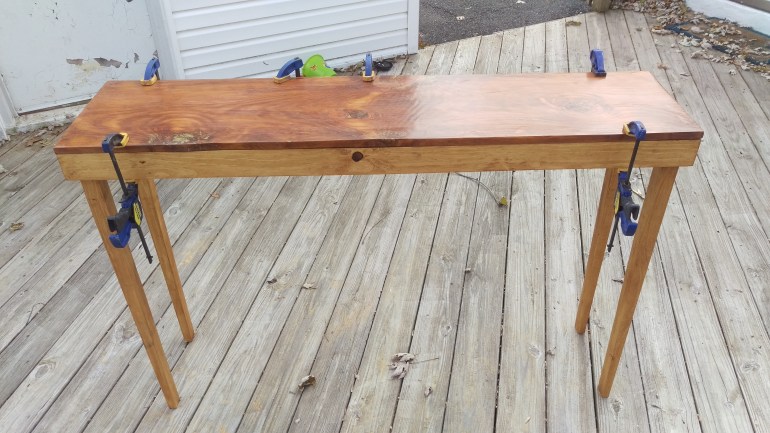
I cut the top to the length we needed and cut all the legs to the height we wanted. I laid the top out and sanded it till I removed all the rough saw marks from the milling. This exposed some big knots and cracks. No worries about that I had a simmer and shiny solution for that.
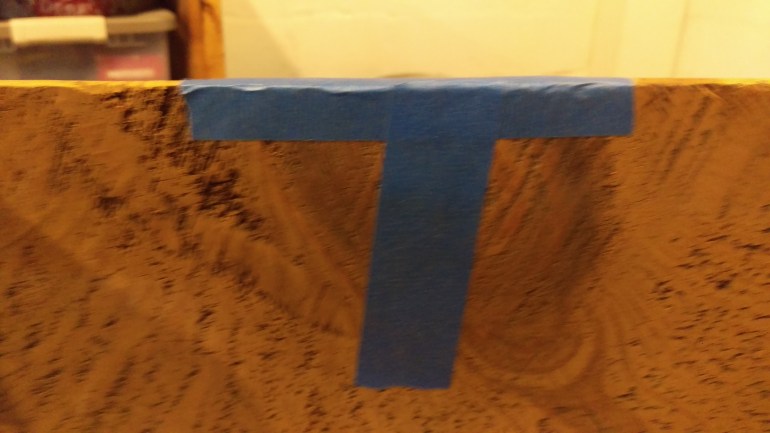
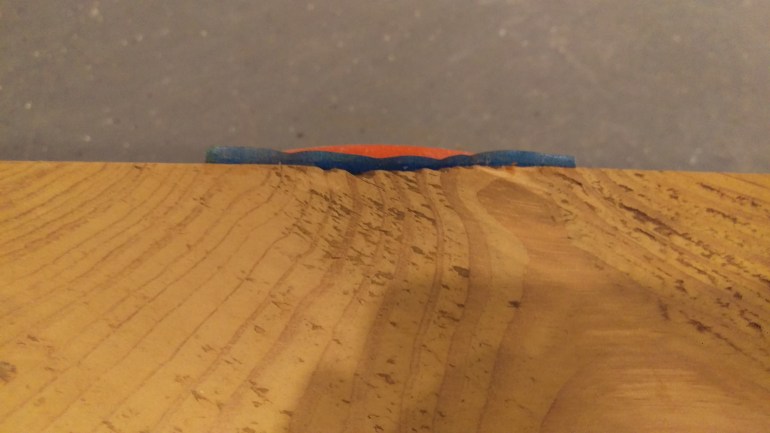

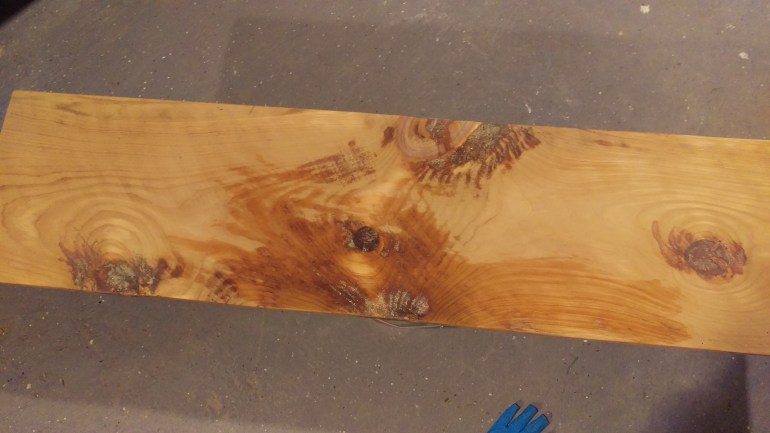
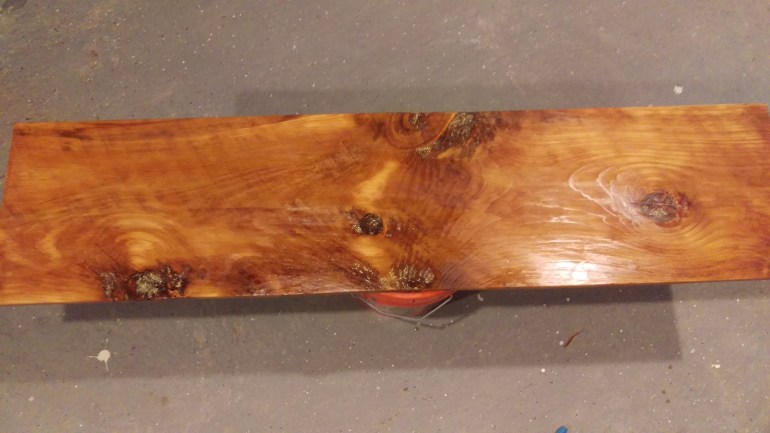
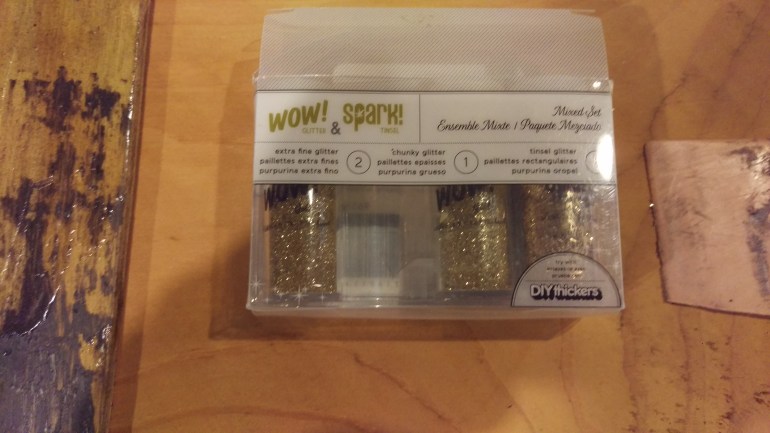
This is were the subtle sparkle comes in. I masked up the back side of all the cracks and knots. Then laid on layer after layer of glitter and epoxy mix. I mushed as much as I could into the cracks and low sections. Once that had cured I went back to the sanding train. I sanded until I had a perfectly smooth surface then applied one thin layer of golden oak stain. After 2 days of that curing I applied 6 or 7 or maybe 8 coats (I don’t know I lost track) of semi gloss clear.
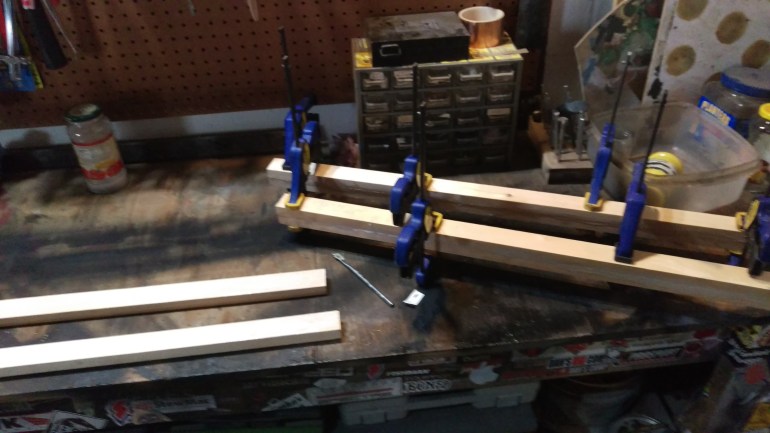
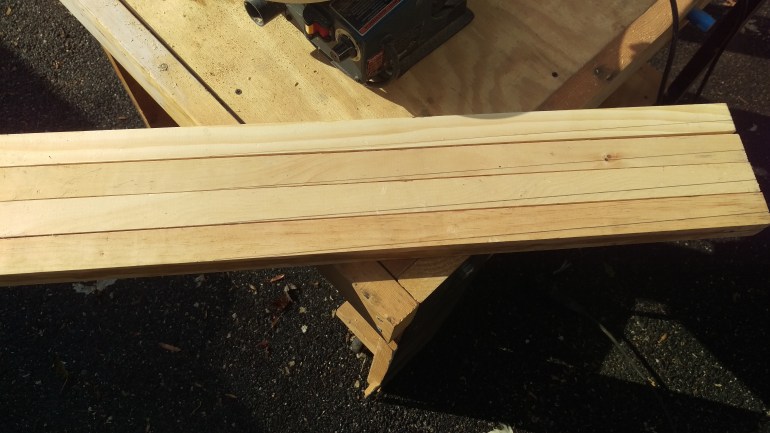

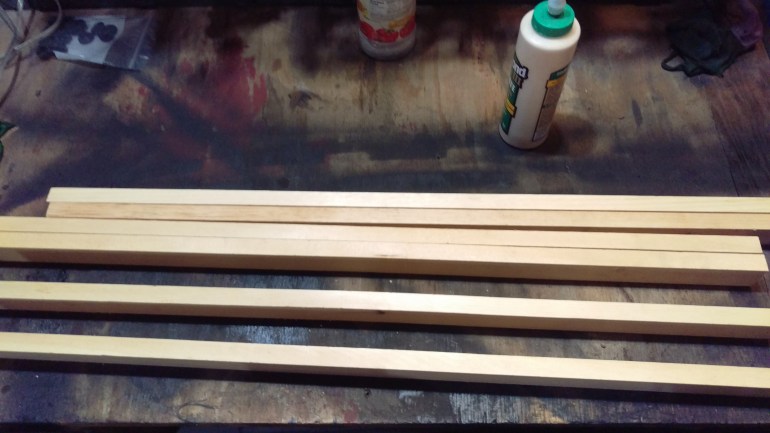
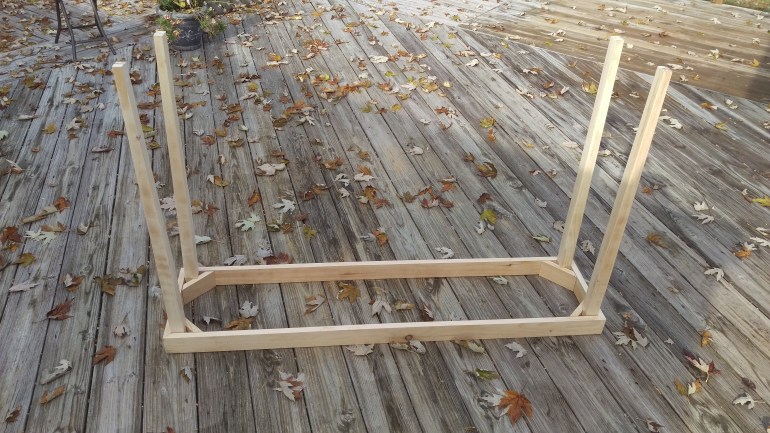
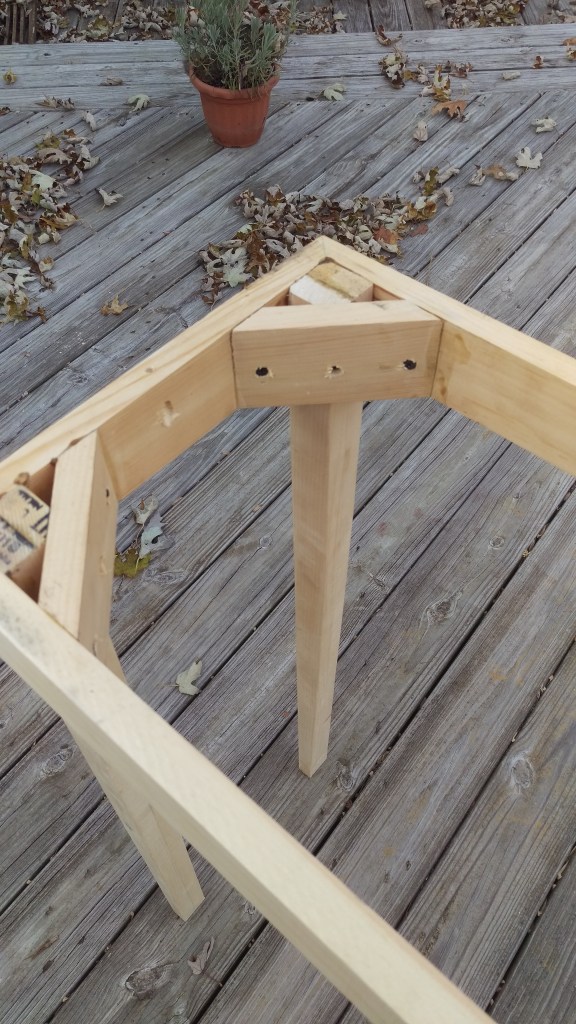
The legs were the next step. We wanted this to sit a little higher then most other console tables that we saw. To make them I cut left over 1″ by 2″ common pine boards from our bathroom vanity build too length. To make them wide enough that I could have a classic tapered mid century style leg, I glued up two boards together to make a 2″ by 2″ leg. After the glue had cured I marked the taper and cut and sanded them. Next step was to add a notch in the leg to attach to the skirt.
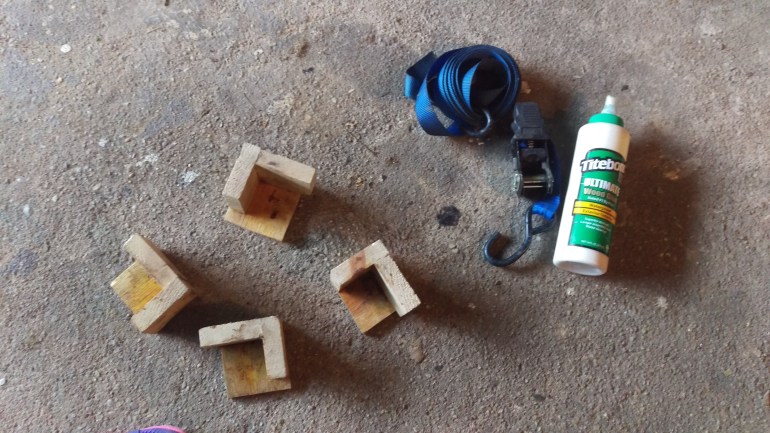
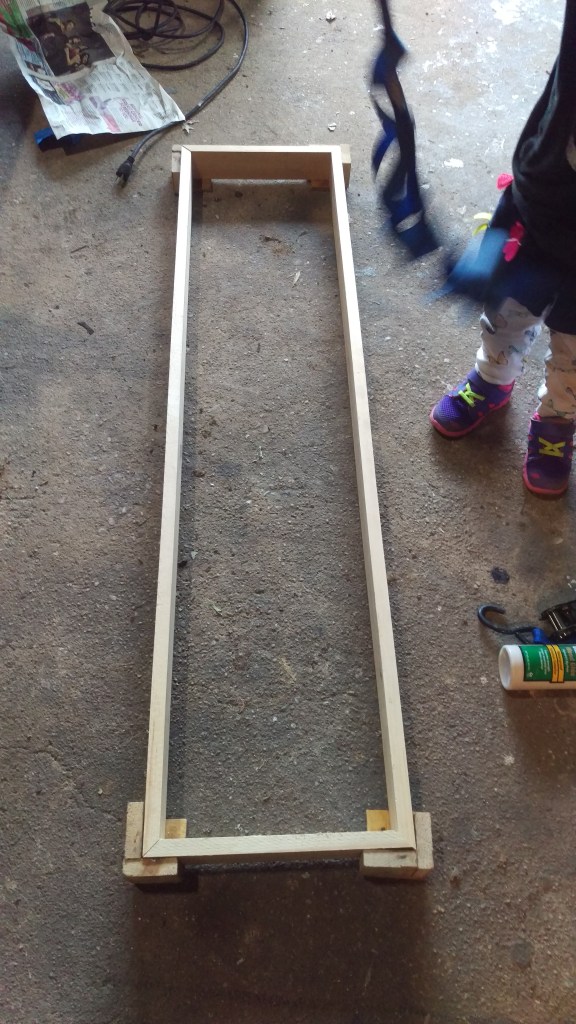
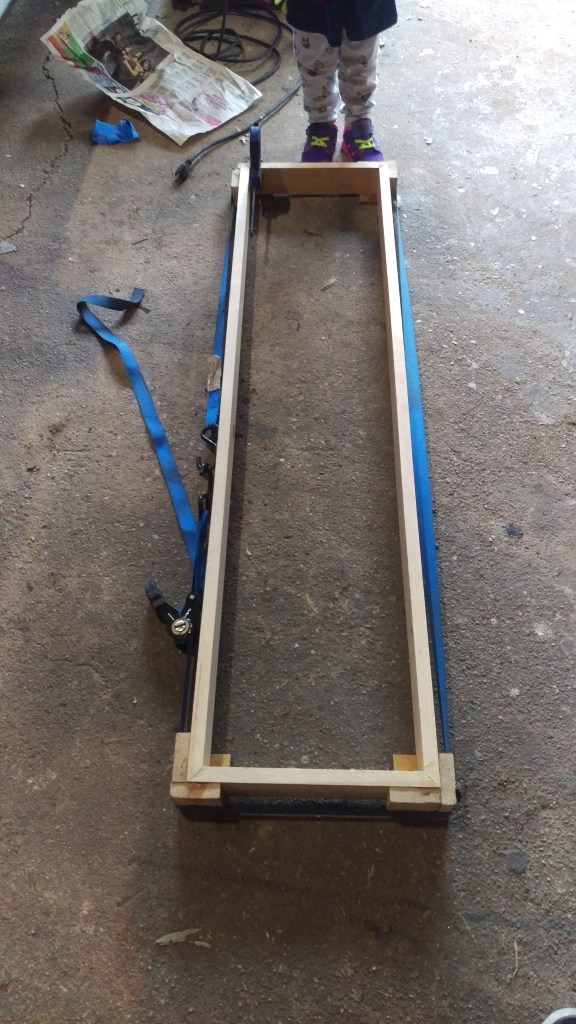
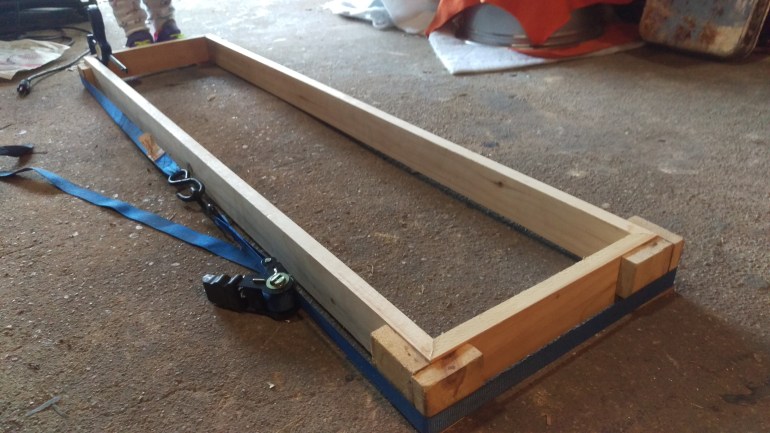
For the skirt I mitered all the corners and matched them to the top. I used these little corner blocks to hold everything together with the ratchet strap while the glue cures. I have used these blocks for all kinds of projects and I made them for scraps and cut offs.
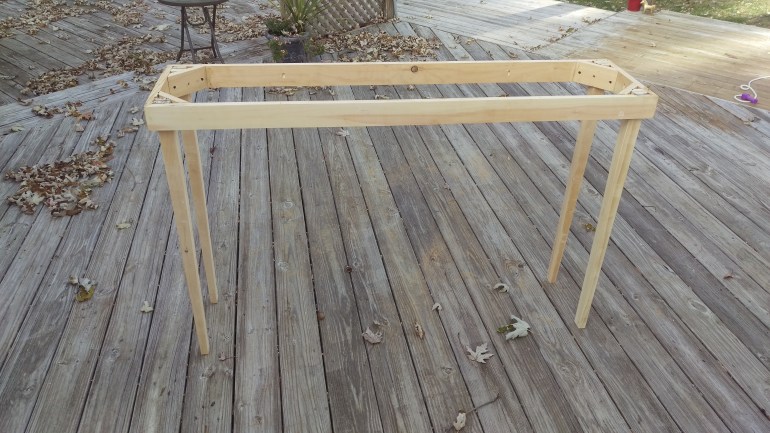
After final assembly I glued and screwed the top on. I presented the final piece to Marianne on our 5th wedding anniversary. She got me a coffee mug.