When we moved into this house over a year ago we had no problems with the kitchen. Other than it’s small size we didn’t think we’d do much to it as it had new countertops and cabinets and lots of light coming in from the sky light.

But like every other room it was gray. Gray is sooooo hot right now. I heard if you don’t have granite countertops and gray walls you’ll get a citation from HGTV. As you can tell from this blog we aren’t fans of gray or “Greige” and other neutral tones. We knew we wanted to warm things up a little and painting one wall was the easiest way to make that change! We had a couple of issues to deal with – one is the chimney that juts into the hallway.

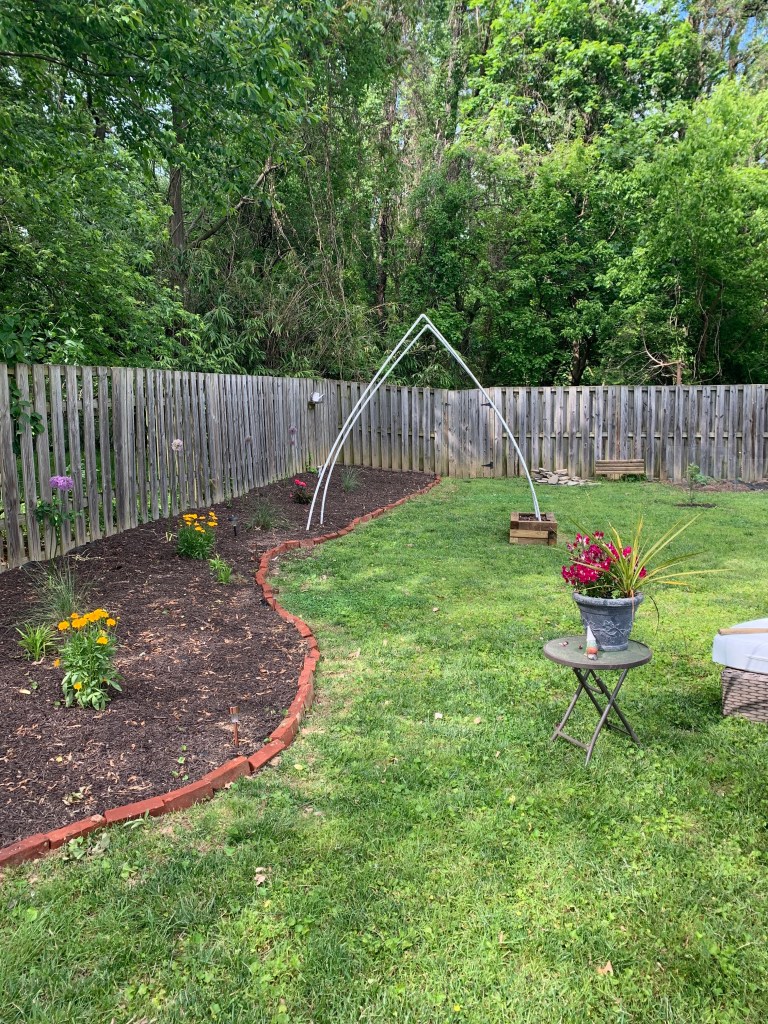
It wasn’t being used and was taking up a foot or two of landscape there. Truth be told it didn’t bother me but Robbie really wanted to take it out. It was quite a process! He went up into the attic, smashed out the bricks and lowered them down by a bucket and rope pulley to me.


I used the bricks to line our fire pit and edged the backyard. Want not waste not!


Once the chimney was removed I invested in Icy Hots for my back. I really over did it that day and regretted it for weeks. I will never haul buckets of bricks without warming up and stretching first! Actually I hope I never have to haul buckets of bricks again. After the wall was patched up our 4 year old helped us paint the whole kitchen a nice bright white and we were FINALLY ready to make our kitchen the fun, retro, colorful room we wanted.

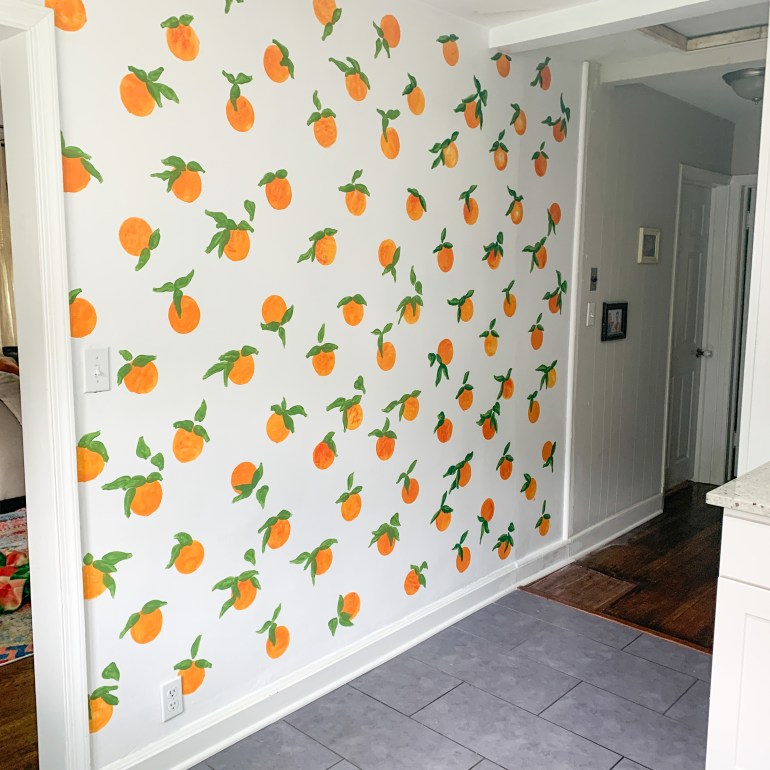
We found wallpaper that we loved but once I did the math I saw we’d need to spend close to $500 on that one wall. I couldn’t justify spending that much on peel and stick wallpaper so after searching around I found a stencil that was very similar to it! Click here for the stencil. The stencil is about $40 and truth be told we didn’t really need it. We only used the stencil to make the circles and to have uniform spacing but I’m sure we could’ve figured that out without using it. Oh well – live and learn. Let our mistake be your fortune! We taped the stencil on the wall and painted the oranges first. One layer of a light orange then we let Dahlia “stipple” with a darker orange for texture and variety. She loved helping and is proud to show off her work to anyone that sees it!
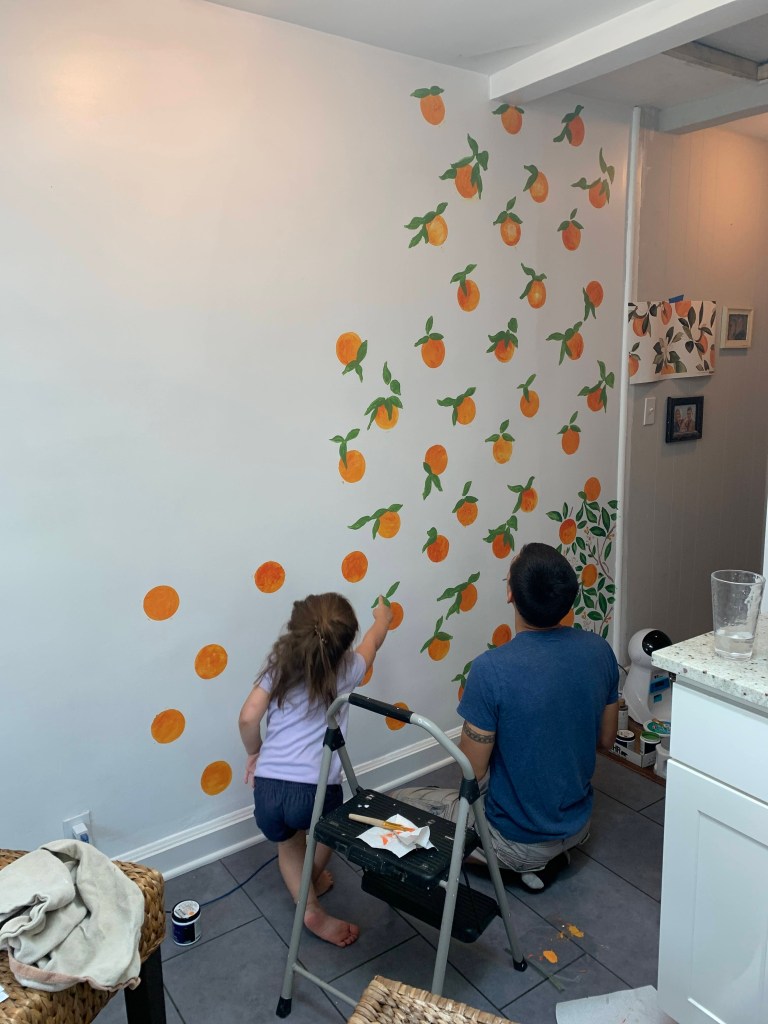
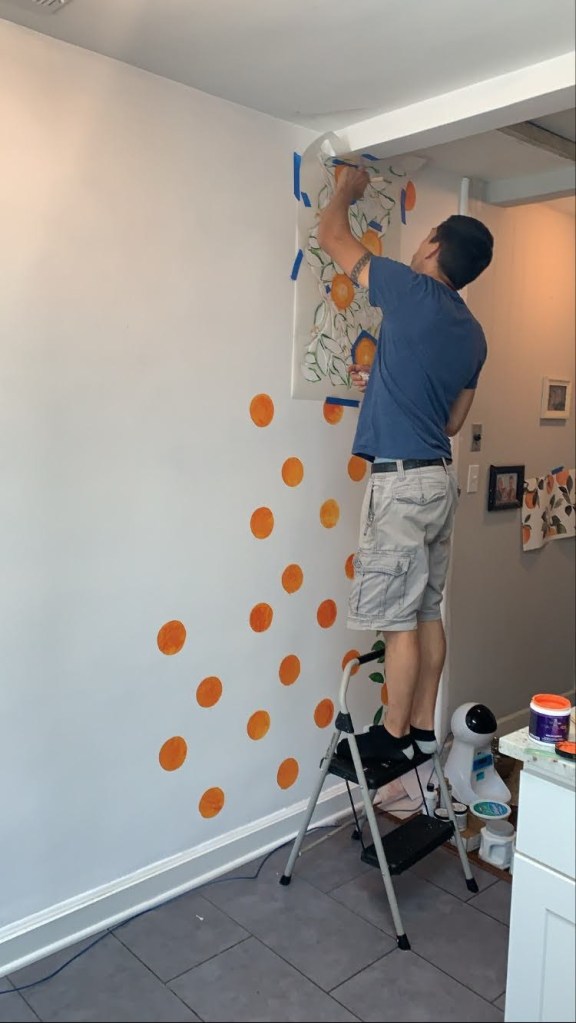
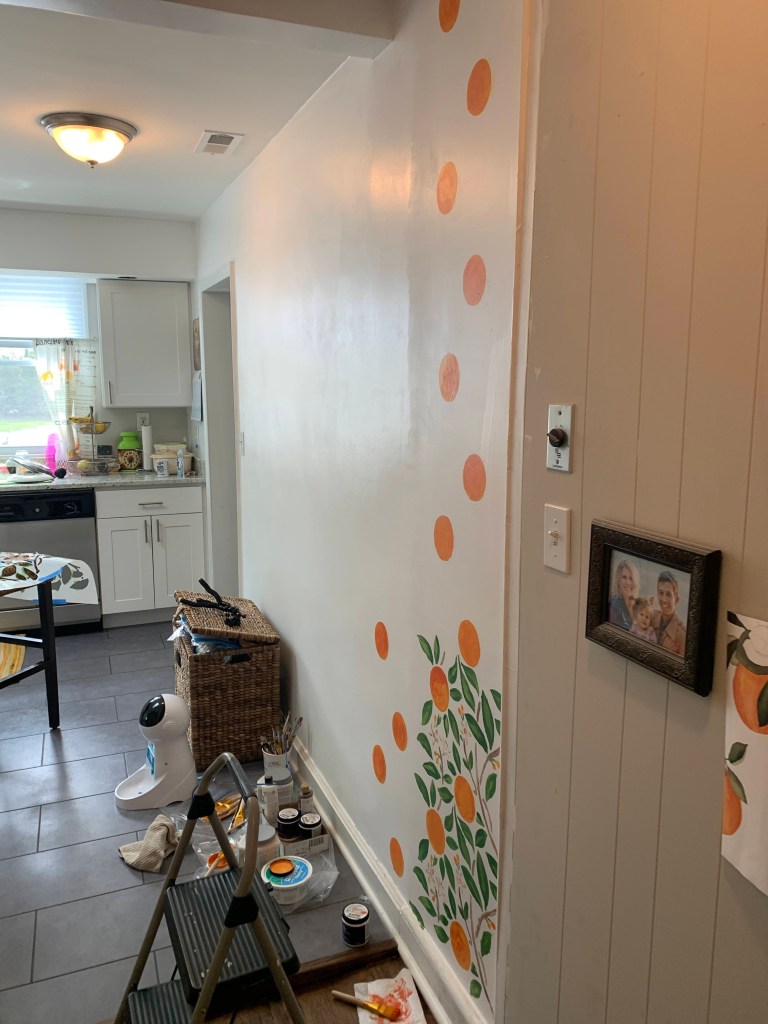
After we painting a bunch of oranges we went back to paint the leaves and realized it was looking too much like a 90’s stencil. Stencils don’t seem to connect the images together so I immediately got flashbacks to my childhood bedroom to the teddy bears and sail boats my mom stenciled around my room. No thanks! I painted over that section and Robbie free-hand painted the leaves. He has an art degree but I think anyone could copy a leaf image – so don’t be intimidated. Our motto is IT’S JUST PAINT! You can always paint over it.


We have yet to add the stems and orange blossoms but that will be next. In the meantime enjoy this quick video of the process!
