I wanted to title this “How to Easily Build the Path of Your Dreams” but I didn’t want to lie with the word “easily”. There really is nothing easy about building a path unless you hire people and watch them do the work. We have now created three paths in our backyard one was easier to build than the others and one is my favorite hands down….I’ll reveal which is which ON MY DEATHBED!!! JK at the bottom of the post I will. Here are the two types of paths we created.
The hardest part with creating a path is getting rid of the grass! (sod) Unless you rent a tiller it’s pretty tedious. I never rented a tiller because we didn’t have a plan for each space and didn’t want open dirt sitting for weeks while we decided. Looking back that was a really dumb reason to not get the tiller. I will never remove sod with a shovel again after doing it three times – because it takes three times for me to learn.
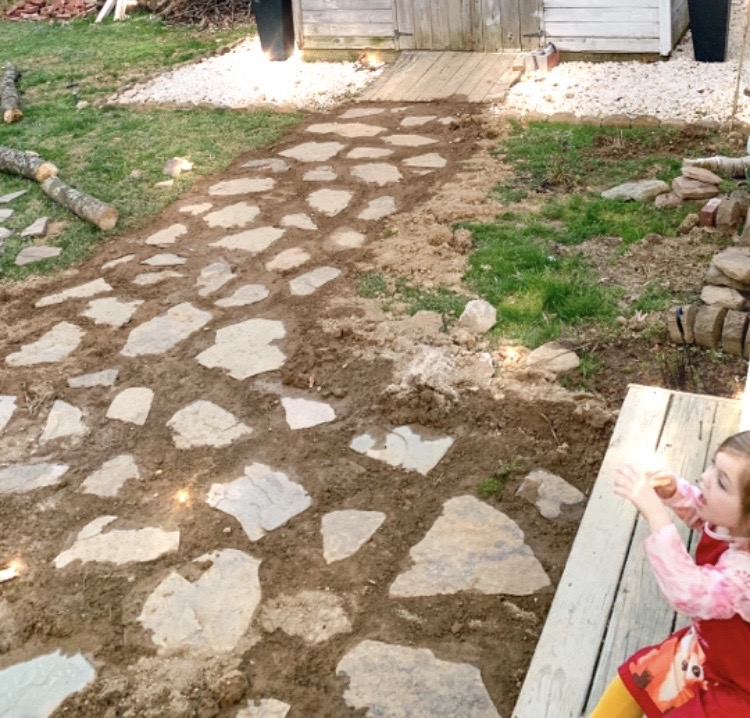
The first path isn’t edged with anything which is fine when nothing needs to be contained. To see how we did that check out my old blog post on it HERE. I think total we spent around $80 on this one. My landscaper friend told me they would’ve charged around $1200 to make it so we saved over a thousand dollars! Worth every back ache. Now onto the second path we created.
This area was tricky for me because I couldn’t visualize what I wanted. I knew I didn’t want to copy the other path – I wanted it to be a little different but pea gravel is expensive and I didn’t want to spend a ton. I ended up spending ON tons! I folded and got 3 tons of pea gravel delivered for $170. Gravel is so much easier!! First I removed the sod. Again I don’t recommend doing this manually – rent the tiller! In fact at this point I should’ve BOUGHT one! Here’s a little time lapse of me removing the sod to remind you to never do it manually… and check out that screen grab! Hellllloooo Marianne!
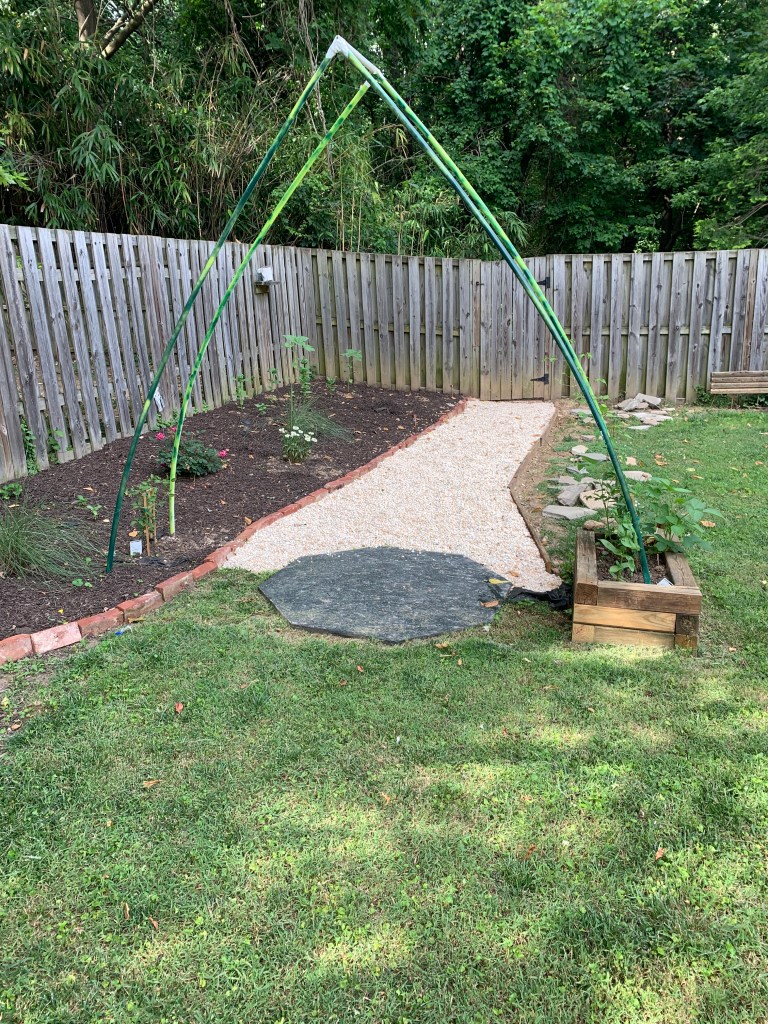
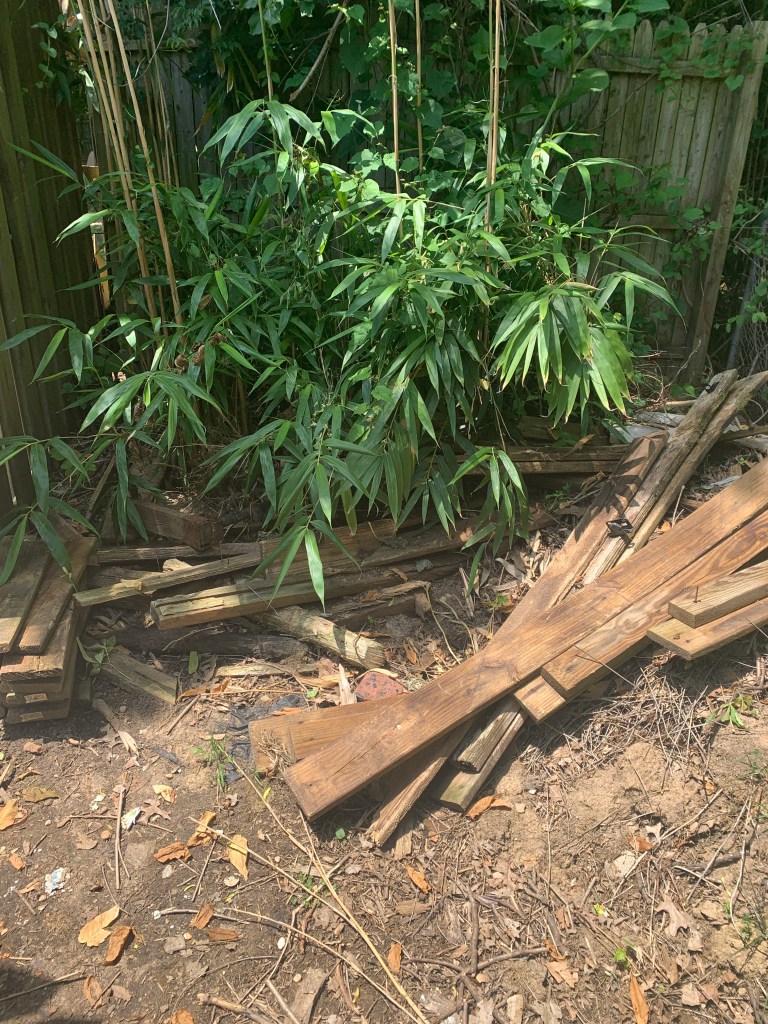
After the grass and roots were removed I laid down weed blocking fabric and dug the edge. I found wood in my backyard from the former owners and used that to line the path.
I don’t know how long this wood will last but it looks cute for now? After that I placed stepping stones onto the black weed blocking fabric and Robbie loaded the pea gravel onto the path. This was 6 wheelbarrows worth of pea gravel and we still have a huge pile left in the driveway!


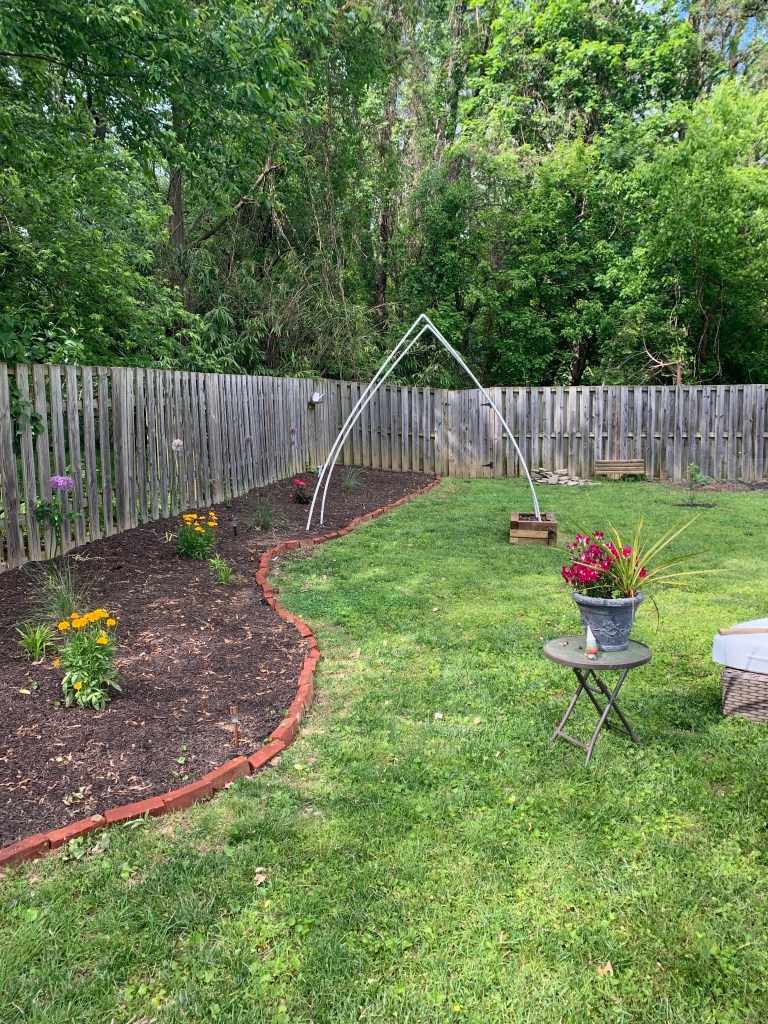
OK! Slight update – this path (Above) wasn’t looking right to us and we stared at it and stared at it and realized the stepping stones weren’t working. We took them out and liked it much more.
We decided we want tall skinny junipers lining it so it will feel like an enclosed, cool hallway when they’re grown. On the hunt for some healthy ones now! I will post pics as soon as they’re planted.
As for which is my favorite? The first one. I love the variation of the stones and contrast between them and the darker dirt. I bought pretty moss and ground cover so once that’s established and filled in I won’t worry about weeds. For now I have been using white vinegar in a spray bottle to kill the weeds. Spray them generously and let them cook in the sun. They’re gone in 24 hours. It’s cheap and you won’t worry about harsh chemicals ruining bugs or other plants.
