Cool Rainbow Summer Treats

Rainbow Squares…. Stained Glass…. Whatever you call them they’re always a hit! These treats are easy to make but by no means quick! It takes about 4 hours because each layer has to individually set in the fridge before adding the next layer- so put a movie on and have a timer ready!

Ingredients:

A smaller size box of each color Jell-O you want (you don’t have to do rainbow!)

Unflavored Gelatin (one box contains 4 packets which is plenty )

2 cans of Sweet condensed Milk- (14oz each)

13×9” pan

Instructions:

Make your bottom layer. If doing the rainbow start with purple. Add the whole pack of purple Jello-O to 1 cup of boiling water and add 1 teaspoon of unflavored gelatin. Stir until dissolved and pour into a 13×9” pan chill for 30 minutes.

While that’s setting in the fridge begin the white layer so it’s somewhat cool when you pour it. Mix 2 teaspoons of unflavored gelatin into boiling water the. Add half the can of condensed milk (about 7oz). Stir until it’s all smooth and dissolved. This will make two batches. Pour half of this onto the first layer. Let set in fridge for 30 minutes and begin the next layer (blue). Repeat with each color!

I recommend you let the final product set for an hour before cutting and serving. I used individual cupcake forms but you can pile them all onto a plate as well! Enjoy!

Advertisement

6 Tips For Thrifting Amazing Treasures

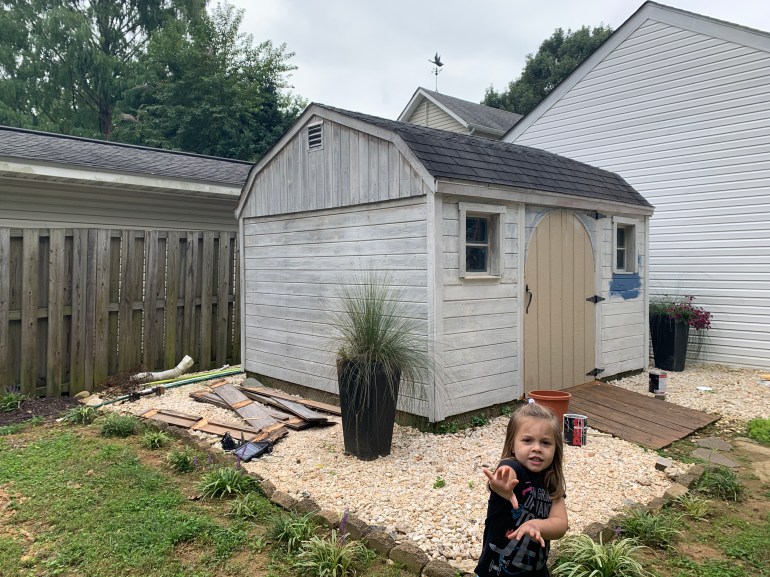
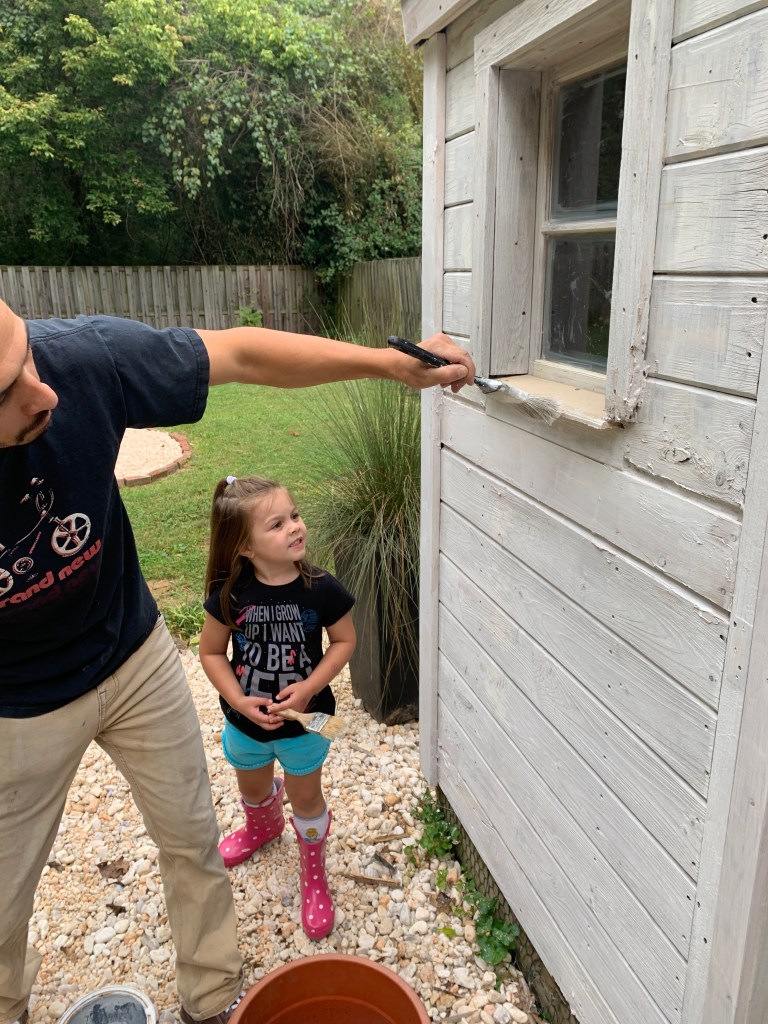
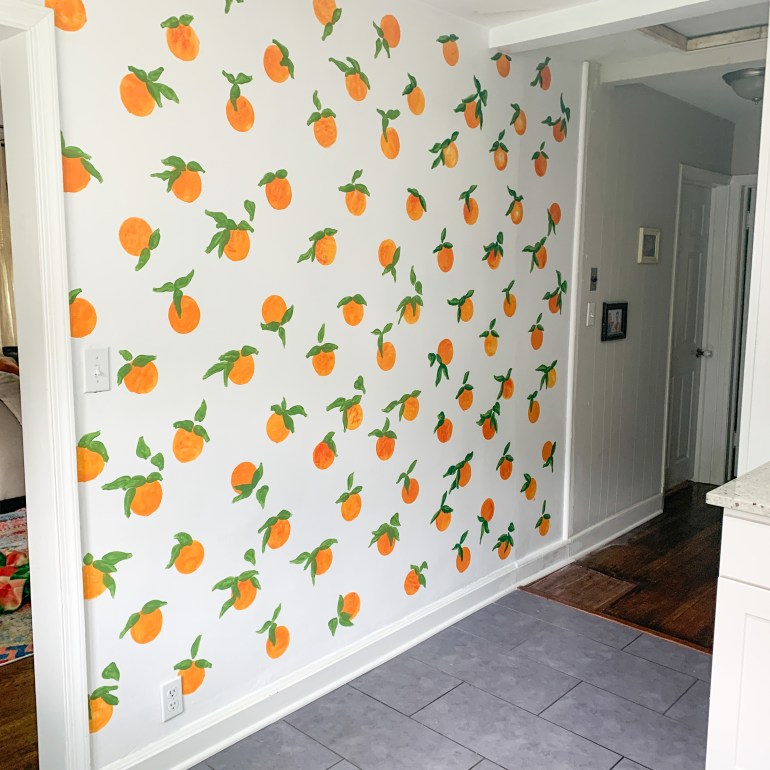
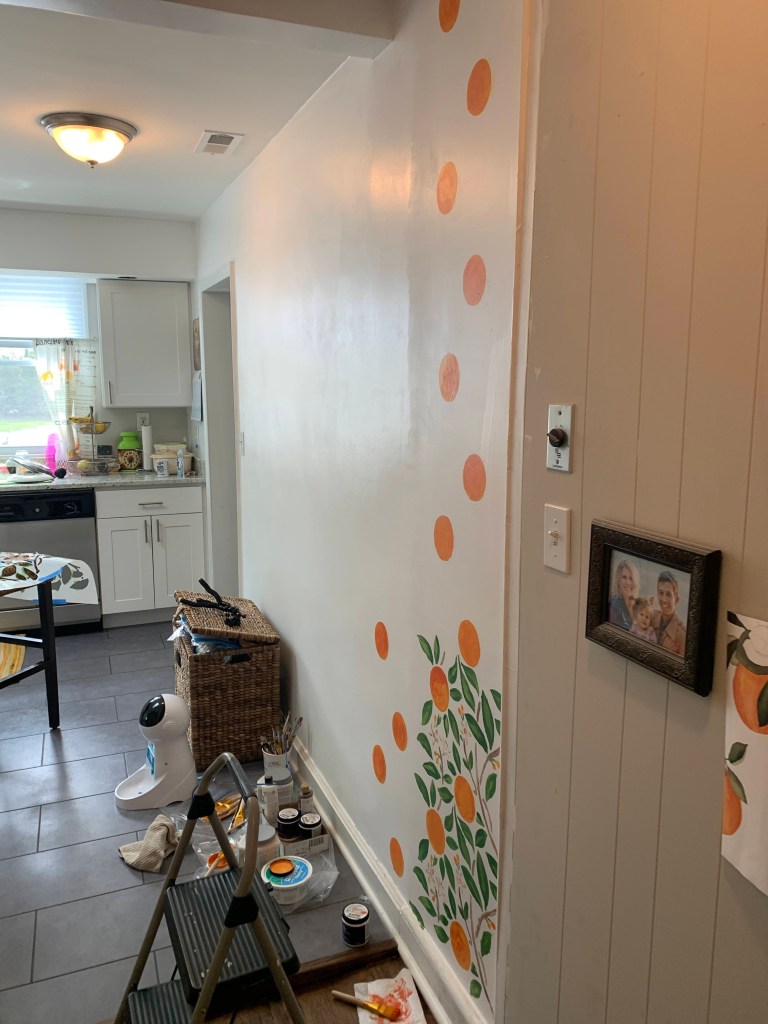
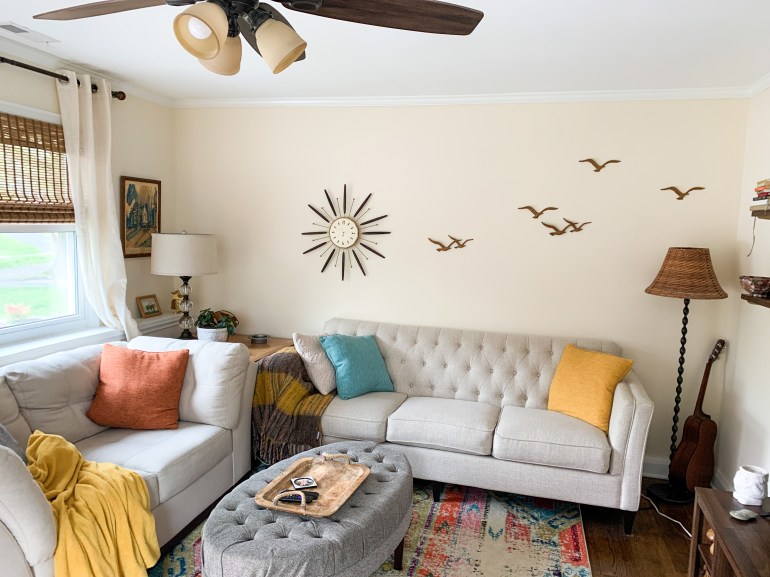
I’m not sure if I’m weird or if there are others out there like me but I like changing up my home decor every few months. I also fry up bugs and eat them for dinner – am I weird NOW??? JK!! I don’t eat bugs. I name them then scoop them into jars and release them into the wild like every other normal person out there. Buttttt seriously folks I do change things around in my house A LOT. If you don’t believe me check out our INSTAGRAM PAGE !! I’m a big fan of moving the furniture and changing the artwork and linens to make it feel like I’ve moved to a new house even though I have gone nowhere. In order to sustain this exorbitant lifestyle I gotta thrift my decor. I don’t have the budget to buy new every few weeks and that would be irresponsible for the planet – and like I said I name and save bugs so that’s obviously on the top of my list.

You may be wary of thrift stores because ewwwww other people’s stuff! Gross! I get it – NOW MORE THAN EVER. Its’ 2020 and there’s a pandemic so germs and “other people” can feel scary and possibly deadly but there are ways to make sure you’re bringing home the cute decor and not a virus or bed bugs. More on that later! Let me give you a few tips to help you navigate your way through the world of thrifting and soon you’ll be dumpster diving for pillowcases like me!

  1. ONLY BUY WASHABLE LINENS AND FABRIC

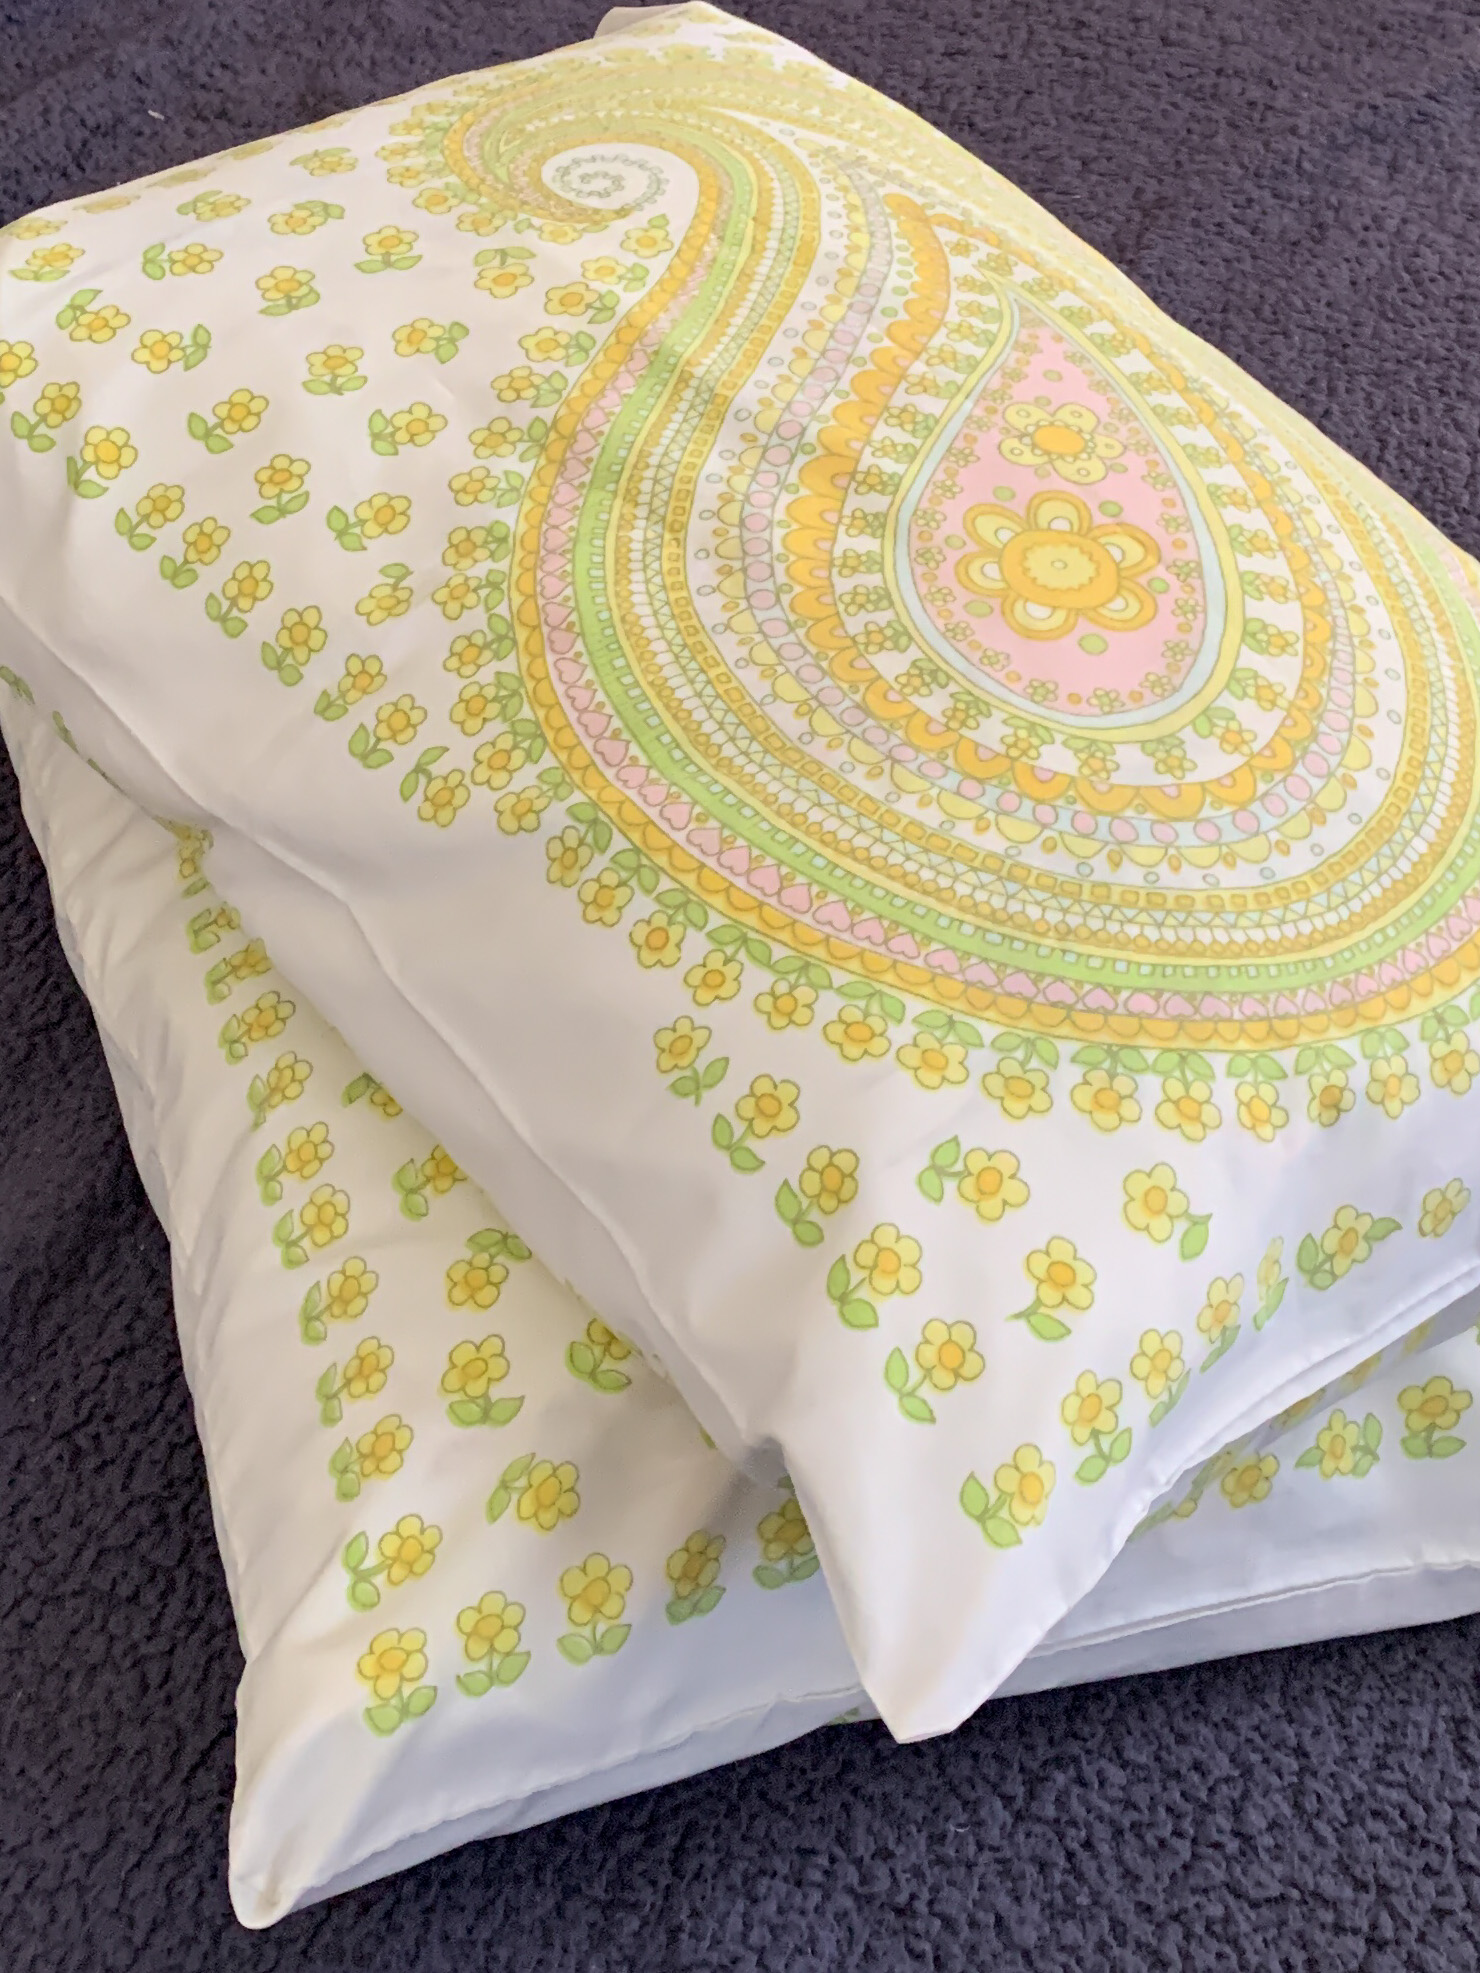
The patterns and colors in vintage bedding are impossible to find in current home store selections. When I find a full set of sheets with no tears or big stains I snatch them up either for our house or to sell in our ETSY SHOP. Whenever you buy pillow cases, sheets, blankets or even clothes from a thrift store I suggest you put them in a plastic bag, tie it up and leave it outside until you can soak it in the tub or bucket over night in a sanitizing solution. I used a scoop of Oxi-clean, a dab of laundry detergent and a tablespoon of baking soda dissolved in hot hot water. I soak everything over night or at least 6-8 hours. After that I wash them in a sanitizing cycle in my machine or regular wash with hot water. Not only does this make me feel better about possible bed bugs or other unwanted critters I feel like it washes away all the vibes from the previous owner. The last thing I want is to start dreaming their dreams – I need my time with Blake Shelton! This sanitizing routine also refreshes the fabric and usually knocks any discoloration or stain that lingers. Now you’re ready to use with no worries! I love the soft, worn in feel they usually have. If you buy decorative pillows for your couch or the top of your bedding make sure they’re removable from the pillow form so you can wash it and use your own form.

2. CHECK FOR LABELS

With vintage artwork or decor always flip them over and look for signatures, dates, stamps or any defining markings that gives you a clue of its origin. If you’re flipping/reselling this will help with pricing. If it’s just for your house then you may not care as much what it actually is as long as it suits the decor in your house. I’ve been using Google Lens to identify pieces that I’m not sure about. It’s hit or miss but it can help if you’re really not sure about a piece. You can also google “Vintage blue vase with peacock” or something descriptive like that and you may get some images that are similar. It helps ID what you have if you’re looking to re-sell.

3.Choose a Theme and Stick To It!

“I’m here for Neutral Farmhouse decor ONLY” “I’m here for vintage dresses ONLY” “Today I’m here for lime green, 1960’s Christmas gnomes ONLY”. Listen. It doesn’t matter WHAT you’re looking for as long as you’re clear about it before you go into the store! If money and space is no object go in with an empty, open mind and have at it but if you’re like me there are limits to the storage in my home. When you have a goal or theme it makes your trip more fun and less stressful. On my vintage dress treasure hunt days I find clothes for myself all the time. It’s easy to pass them up though when I remind myself what the goal is for the day. I’ve never regretted leaving a piece of clothing and I can say I have regretted buying a few impulse pieces. The good news is even if you buy something you ultimately don’t want you know you didn’t spend more than a few dollars on it so it’s a good, inexpensive lesson for you. So remember to have a clear idea of what you’re looking for before getting overwhelmed!

4. Be Consistent

If you REALLY want to find the good stuff I’ve found you have to go thrifting often and on the right days. The middle of the week is great because it’s slower and they usually re-stock. Ever thrift shop has a sale day or offers coupons so get familiar with your favorite shops “Games” and play! My Savers has a customer appreciation 25% off day twice a week and offers $2 off coupons if you fill out a survey. These things add up. Or….take away…you know what I mean. Play the games!

5.Fill Your Cart

Here’s a method I use and have found really helps. I get a cart (And sanitiiiiize) and put everything in that I think I may want. Load that sucker UP! Thrift stores have only one of everything so it’s better to grab whatever catches your eye and edit the cart at the end of your trip. When I’m done I take a look through the cart and put everything that doesn’t fit my “theme” for the day right back to the shelf. This also gives my friends time to text me back “Yes I want that!” Or “No thanks” after I’ve sent them pictures of things I see that they may like. Usually they forget what I bought for them and they make the best, most unique Christmas and Birthday gifts!

6. Size Matters!

I learned the hard way that furniture is super hard to transport. Clothes and little trinkets are certainly easy to take home but make sure a furniture piece can fit in your car and makes sense in your space before having someone drag it over to the registers.

Okay! Those are the 6 quick tips off the top of my head for becoming a thrifting MASTER! I guess this last piece of advice would be number 7 but who’s counting – my last tip is to chill out! If you miss your normal day or haven’t gone in month don’t worry! The Thrifting Goddess will give you exactly what you’re looking for. And enjoy it! It’s a fun, low stress, modern-day treasure hunt that only costs a few bucks and gives you’re house a unique, special feel!

Shed Transformation

One of the things we loved about this house is the large back yard and shed that came with it. It definitely looked a little rough but we knew it had potential.

At the very least it was going to be a great Halloween haunted house. Buying a new shed costs thousands and building one on our own would’ve been equally as expensive since the price of wood these days (pandemic prices) is through the roof as well. Repairing it was the best option. Carpenter bees had really done a number on the sides – there were holes all over. The roof shingles were starting to curl up which meant they were almost at their expiration date. Many of the planks were just plain rotted. Because of all these issues slapping paint on it wasn’t going to cut it. Robbie did a ton of the repairs and I fixed up the area surrounding it.

We added a couple paths to the shed and a fairy garden near it. All really cute, pretty elements that made the shed stick out even more!

The doors were in bad shape so Robbie removed them and rebuilt a door out of siding. He was clever and made a rectangular door look like an arched door.

All the repairs were made so it was time to prime the shed with white paint. It was so dried out the wood soaked up the paint like a sponge!

We were so excited to finally have the shed ready to paint. I chose a dark blue because I’m always drawn to pretty dark colored homes. Because I had a dark color I knew it wouldn’t look as fairy-house-like as I originally planned but the shed seemed to ask for dark blue and I didn’t want to argue with her. (She was adamant!)

Robbie made shutters out of more siding. They’re obviously for show only – they probably won’t be closed much but when it is closed there’s a cute surprise!

And that’s it! That’s how we transformed our scary shed into the cute little rainbow house it is now. Maybe someday I’ll change it up again but I love the pop of color in our fun backyard.

Here’s a quick video of our painting, decorating and dancing around. Enjoy!

For fun I did a little trailer of our scary shed you can watch below. Hey – you don’t have a scary shed in your backyard without making a terrifying movie around it right?

DIY Kitchen Refresh

When we moved into this house over a year ago we had no problems with the kitchen. Other than it’s small size we didn’t think we’d do much to it as it had new countertops and cabinets and lots of light coming in from the sky light.

But like every other room it was gray. Gray is sooooo hot right now. I heard if you don’t have granite countertops and gray walls you’ll get a citation from HGTV. As you can tell from this blog we aren’t fans of gray or “Greige” and other neutral tones. We knew we wanted to warm things up a little and painting one wall was the easiest way to make that change! We had a couple of issues to deal with – one is the chimney that juts into the hallway.

It wasn’t being used and was taking up a foot or two of landscape there. Truth be told it didn’t bother me but Robbie really wanted to take it out. It was quite a process! He went up into the attic, smashed out the bricks and lowered them down by a bucket and rope pulley to me.

I used the bricks to line our fire pit and edged the backyard. Want not waste not!

Once the chimney was removed I invested in Icy Hots for my back. I really over did it that day and regretted it for weeks. I will never haul buckets of bricks without warming up and stretching first! Actually I hope I never have to haul buckets of bricks again. After the wall was patched up our 4 year old helped us paint the whole kitchen a nice bright white and we were FINALLY ready to make our kitchen the fun, retro, colorful room we wanted.

We found wallpaper that we loved but once I did the math I saw we’d need to spend close to $500 on that one wall. I couldn’t justify spending that much on peel and stick wallpaper so after searching around I found a stencil that was very similar to it! Click here for the stencil. The stencil is about $40 and truth be told we didn’t really need it. We only used the stencil to make the circles and to have uniform spacing but I’m sure we could’ve figured that out without using it. Oh well – live and learn. Let our mistake be your fortune! We taped the stencil on the wall and painted the oranges first. One layer of a light orange then we let Dahlia “stipple” with a darker orange for texture and variety. She loved helping and is proud to show off her work to anyone that sees it!

After we painting a bunch of oranges we went back to paint the leaves and realized it was looking too much like a 90’s stencil. Stencils don’t seem to connect the images together so I immediately got flashbacks to my childhood bedroom to the teddy bears and sail boats my mom stenciled around my room. No thanks! I painted over that section and Robbie free-hand painted the leaves. He has an art degree but I think anyone could copy a leaf image – so don’t be intimidated. Our motto is IT’S JUST PAINT! You can always paint over it.

We have yet to add the stems and orange blossoms but that will be next. In the meantime enjoy this quick video of the process!

How to Build a Path Of YOUR DREAMS

I wanted to title this “How to Easily Build the Path of Your Dreams” but I didn’t want to lie with the word “easily”. There really is nothing easy about building a path unless you hire people and watch them do the work. We have now created three paths in our backyard one was easier to build than the others and one is my favorite hands down….I’ll reveal which is which ON MY DEATHBED!!! JK at the bottom of the post I will. Here are the two types of paths we created.

The hardest part with creating a path is getting rid of the grass! (sod) Unless you rent a tiller it’s pretty tedious. I never rented a tiller because we didn’t have a plan for each space and didn’t want open dirt sitting for weeks while we decided. Looking back that was a really dumb reason to not get the tiller. I will never remove sod with a shovel again after doing it three times – because it takes three times for me to learn.

The first path isn’t edged with anything which is fine when nothing needs to be contained. To see how we did that check out my old blog post on it HERE. I think total we spent around $80 on this one. My landscaper friend told me they would’ve charged around $1200 to make it so we saved over a thousand dollars! Worth every back ache. Now onto the second path we created.

This is the space where the path will go

This area was tricky for me because I couldn’t visualize what I wanted. I knew I didn’t want to copy the other path – I wanted it to be a little different but pea gravel is expensive and I didn’t want to spend a ton. I ended up spending ON tons! I folded and got 3 tons of pea gravel delivered for $170. Gravel is so much easier!! First I removed the sod. Again I don’t recommend doing this manually – rent the tiller! In fact at this point I should’ve BOUGHT one! Here’s a little time lapse of me removing the sod to remind you to never do it manually… and check out that screen grab! Hellllloooo Marianne!

After the grass and roots were removed I laid down weed blocking fabric and dug the edge. I found wood in my backyard from the former owners and used that to line the path.

I don’t know how long this wood will last but it looks cute for now? After that I placed stepping stones onto the black weed blocking fabric and Robbie loaded the pea gravel onto the path. This was 6 wheelbarrows worth of pea gravel and we still have a huge pile left in the driveway!

OK! Slight update – this path (Above) wasn’t looking right to us and we stared at it and stared at it and realized the stepping stones weren’t working. We took them out and liked it much more.

We decided we want tall skinny junipers lining it so it will feel like an enclosed, cool hallway when they’re grown. On the hunt for some healthy ones now! I will post pics as soon as they’re planted.

As for which is my favorite? The first one. I love the variation of the stones and contrast between them and the darker dirt. I bought pretty moss and ground cover so once that’s established and filled in I won’t worry about weeds. For now I have been using white vinegar in a spray bottle to kill the weeds. Spray them generously and let them cook in the sun. They’re gone in 24 hours. It’s cheap and you won’t worry about harsh chemicals ruining bugs or other plants.

How to Build Custom Picture Frames WITH NO POWER TOOLS!

I’ve been so excited to hang this cute print I got from illustrator/artist Jessica Love. It’s a moment from one of our favorite children’s books “Julian is a Mermaid”. If you haven’t read it to your child you’re missing ouuuuut! Pick up a copy here

Once we got our print we realized it would be tricky to find a frame from the usual stores as it’s a unique size. Getting a print custom made can run you $150-$200 with a coupon so Robbie is going to share his method for making a custom frame for under $20 with no power tools. This can be done in a small apartment with minimal mess and supplies! Here’s the quick video showing the process and below are links to the stuff we used as well as how to figure out how to measure the frame before cutting it.

You really don’t need a lot to make a frame especially “Robbie’s way” which uses a self-made box to hold the frame in place while the glue dries. I suppose you could staple instead of this method but this prevents the glue from coming undone so you don’t have to rely on any other staples or methods to keep them together. And remember – once you have these things you can make tons of frames! The wood we used for the frames was in the hardwood section at any hardware store. We chose poplar because it was so affordable but get whatever looks good for you! The backing was out of project board but as Robbie said in the video you can use foam core or poster board. Anything to make it straight. We have a blog coming soon explaining how to properly measure your print so you know where to cut the wood for the frame. Soon….soon……SOOOOOON!!!

Titebond Glue: https://bit.ly/37TWFex

Spray Adhesive: https://bit.ly/2VeenUK

Ratchet Tie down: https://bit.ly/3hVrLXL

Hand Saw: https://www.harborfreight.com/10-inch-flush-cut-pull-saw-94722.html

Mural Madness

It’s so cool that we finally found a starburst clock for our living room and now….I (Marianne here) want to mess with that wall a little more. I’ve been following a few accounts on Instagram where people paint very large, seemingly easy shapes on their walls. They’re so creative and dramatic that I thought I could do that so easily – until I remembered the playroom mural attempt and have been getting cold feet. Here’s the wall with no mural:

I love it but I do feel like that wall needs a little color. I was going to just paint it a dark color as a “statement” wall but I think i want to be a little more creative than that. I may just paint a green sun up there…..but exact color and placement is always tricky. Dahlia helped me paint a mock-sun and I’m moving it around to see where I’d like it

I think I’ll go with the “Sun” on the left as some Instagram friends pointed out the startburst clock is already basically a sun in this “picture” so the green can be a backsplash or a moon? Hmmm…not sure yet. I’ll have to stare at it a little more….What do you think?

Almost A Schmear

Robbie and I can’t wait to build a front porch onto our house. Not only will it be a great place to hang out it will change the look of the house. In the meantime we thought we’d update the look by getting rid of the outdated red bricks in the front. Painting them would be easy but means you have to retouch the paint quite often so we decided to do a German Schmear.

Here’s the house “before”

We mixed up cement and mortar which was schmeered all over the brick. Once Robbie put it on the brick I took a wet sponge and took enough off so you can still see a bit of brick beneath. Here’s where we made A MISTAKE! We didn’t realize the cement was a gray not white and although it all mixed well and went on perfectly it ended up looking like….well….cement. We ended up having to paint a light white wash over it to get the affect we wanted. Live and learn! Here’s a vid of the whole process:

Our Tick Tock Challenge

Yeah…no I’m not on Tic Toc. I tried to learn one of the dances and got frustrated after 4 minutes then bailed. But Robbie and I had a different kind of challenge which was finding the perfect piece for our small living room wall. I love the Syroco birds we found all over Ebay. The placement of them flying up and away mimics a tattoo I have on my back…

Ahhh to be young and have $150….

We really loved the idea of a mid century modern starburst design. We had our eye on one that looked like THIS one that we saw at a vintage mall in Virginia but we were 8 minutes too late. When we asked how much it was we were told a couple snagged it right before us. Dang it! I consoled myself by saying I didn’t really like it even though I DID! And the kicker was they were only asking $60 gahhhhhh!!!

One thing we did realize we wanted though was a clock for that room so a hunt for a MCM starburst clock began. I really wanted to find it at a shop – not online so I purposely didn’t search my favorite sites for it. I had a feeling the clock WOULD FIND ME. Then…..the pandemic of 2020 hit and we were all stuck inside for months. My friend Angela has an eagle eye when it comes to mid century modern treasures and she texted me a link to a bunch of beautiful Robert Shaw starburst clocks on Mercari. Since we weren’t going to be able to go to actual brick and mortar shops to thrift for the foreseeable future I made an allowance and looked at all the great finds online.

HERE’S the one we decided to get. Once it came Robbie noticed it was missing some of the wood dowels. The picture clearly shows that they were missing I just didn’t look very carefully so that was my bad.

Two are missing on the bottom if you look closely!

Robbie figured he could replicate them in his shop with some scrap pieces he had so he got to work!

Hard to tell which is the new one!

Gettin Stoned

One of the reasons we bought this little ranch was because of the giant, blank canvas that is the backyard. It’s maybe 1/4 acre of weeds and spotty patches of grass. We loved it. We knew one of the first things we were going to do was get rid of as much lawn as we could by adding stone paths, walkways, trees and flowers. We also wanted to add a big vegetable garden and possibly a greenhouse but those are last on the list. Today we decided to make a stone path going from our deck to the scary shed.

This is what it looked like when we moved.

I lined the grass around the shed with our cardboard moving boxes then got 3 yards of white stone delivered.


We then created the path with our trusty edging shovel. I debated making it really wide but wisely kept it more narrow because we didn’t know how many rocks we’d be able to collect from around town. You can of course buy beautiful stones that are the exact color and size you want for your path but we have a strict budget of zero dollars so I scoured Facebook Marketplace for free rocks and drove many miles to collect them. My Kia Spectra is a BEAST and I was able to transport a lot of them in her trunk. We were sagging but she got the job done! Next was flipping the sod, shaking the dirt off and putting the grass chunks in the backyard.

After it was flipped and raked we got all the stones in place for the path. This is the most fun part because it’s like creating a puzzle. We were so lucky to have a new landscaper friend give us some additional rocks to complete the path!

Now for the back breaking part. Each thick stone needs to be buried in the dirt so it won’t move around. You take the rock, lift it up, dig a hole the depth of the rock and place it back in. We didn’t use stone dust or sand because they were so thick burying them in dirt would hold them enough. We’re also planning on buying ground cover (We decided to spend some money afterall) and the roots of those would help hold the rocks in place as well.

Here she is for now! Can’t wait to get the pretty little plants for in between the stones and of course to PAINT THAT SHED!! One step at a time I guess…..

We’ve added Thyme, Creeping jenny and irish moss as ground cover in between the stones. So far the thyme and creeping Jenny is doing the best